There’s something about homemade vanilla ice cream that store bought tubs just can’t match.
It’s rich, it’s creamy, and it comes with the added satisfaction of knowing exactly what went into it. The best part about this particular recipe?
You don’t need an ice cream maker, a fancy machine, or any complicated technique. Just four ingredients, a mixing bowl, and a little patience while it sets in the freezer.
This no churn method has become a favorite among home cooks because it removes the biggest barrier to homemade ice cream: equipment.
No churning, no custard base, no eggs to temper. Just whip, mix, freeze, and enjoy.
Let’s walk through exactly how it comes together.
Why No Churn Ice Cream Works
Traditional ice cream recipes rely on a churning machine to keep the mixture moving as it freezes, which prevents large ice crystals from forming and keeps the texture smooth.
No churn recipes get around this by using whipped cream to add air into the mixture before freezing.
That air is what gives the final product its light, scoopable texture, similar to what you’d get from a machine, minus the machine.
Sweetened condensed milk plays a big role here too. It adds sweetness and a subtle richness while helping keep the ice cream soft enough to scoop straight from the freezer, rather than turning into a hard block of ice.
Ingredients You’ll Need (Makes About 2 Cups)
This recipe keeps things short and simple. You likely already have most of these items in your refrigerator.
- Heavy whipping cream – 1 cup, cold (look for “heavy cream” or “heavy whipping cream” at any U.S. grocery store)
- Sweetened condensed milk – ⅓ cup (found in the baking aisle, usually near evaporated milk)
- Vanilla extract – 1 teaspoon
- Whole milk – ¼ cup, chilled
That’s it. No eggs, no cooking, no ice cream machine required.
Step by Step Instructions
Step 1: Whip the Cream
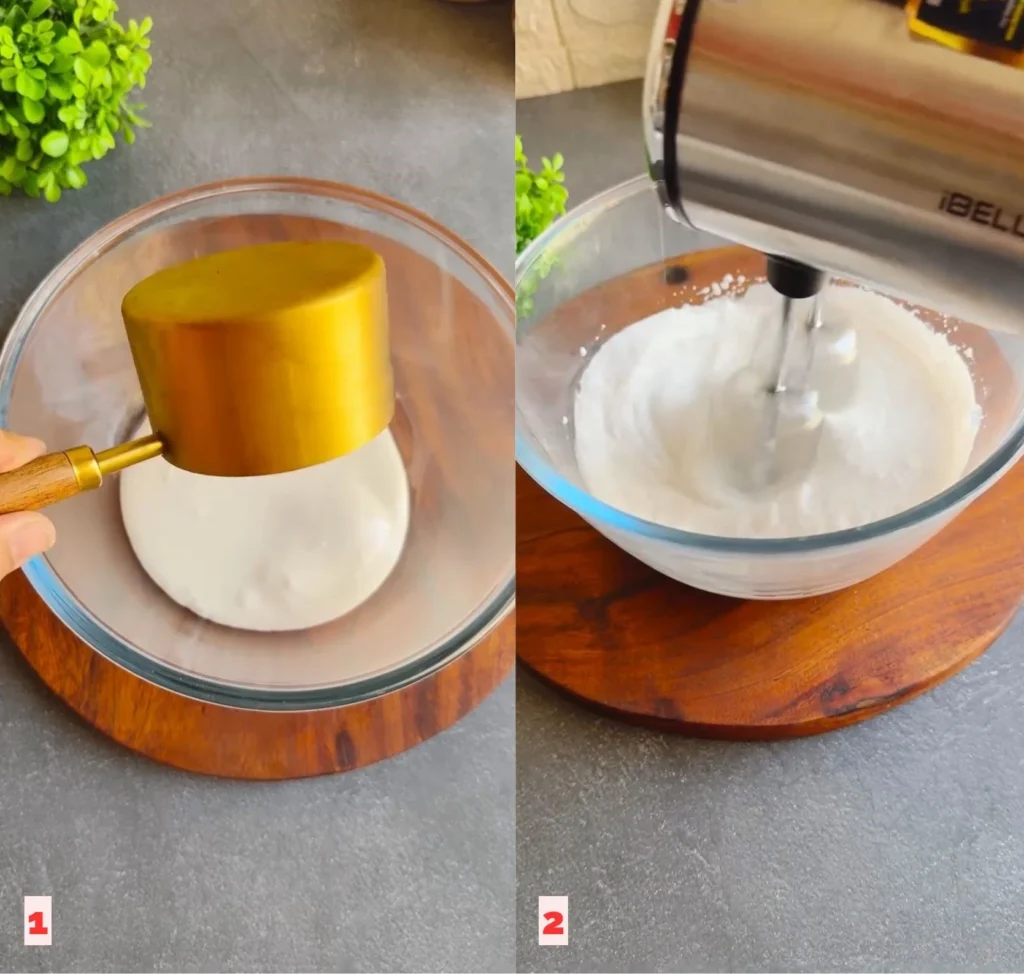
In a large chilled mixing bowl, whip the heavy cream until it thickens and forms stiff peaks. This means the cream holds its shape firmly when you lift the beaters out.
Step 2: Combine the Flavors
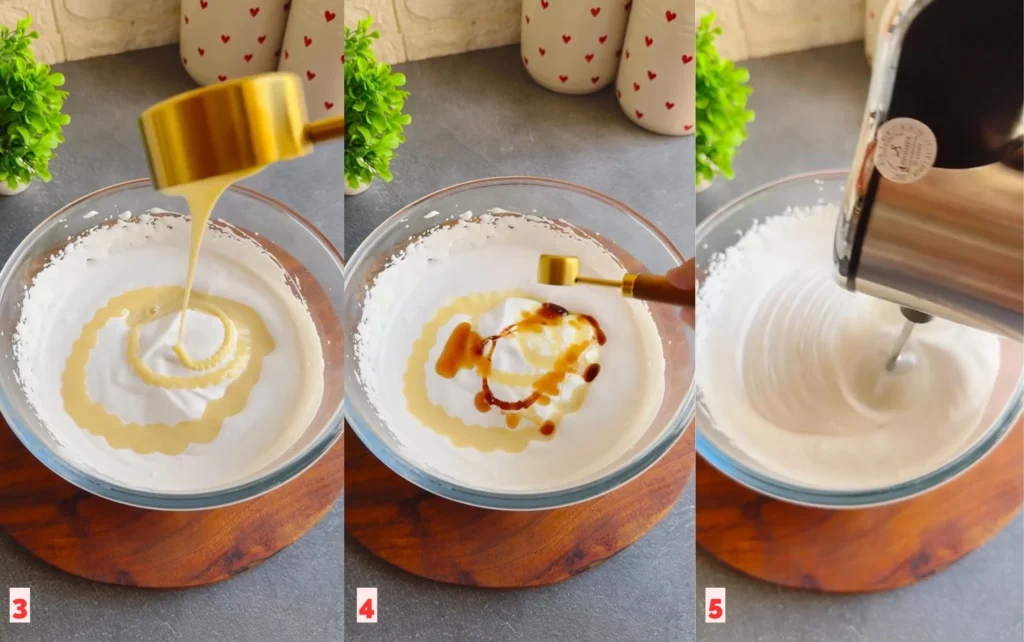
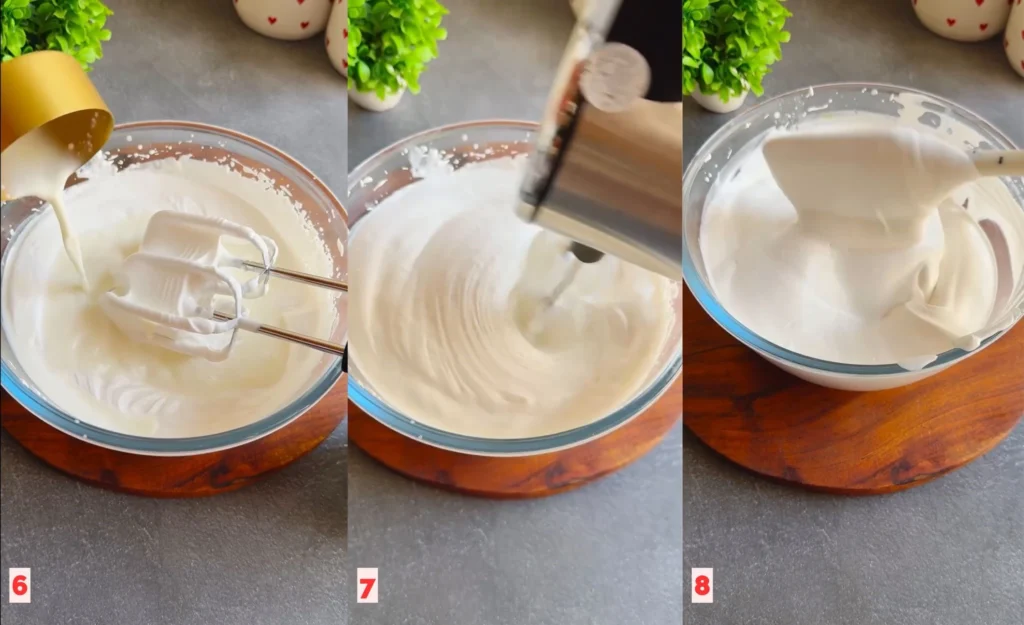
Add the sweetened condensed milk and vanilla extract to the whipped cream. Mix gently but thoroughly, folding everything together until fully combined.
Step 3: Add the Milk
Pour in the chilled whole milk and beat the mixture one more time until it turns smooth and airy throughout.
Step 4: Prep for Freezing
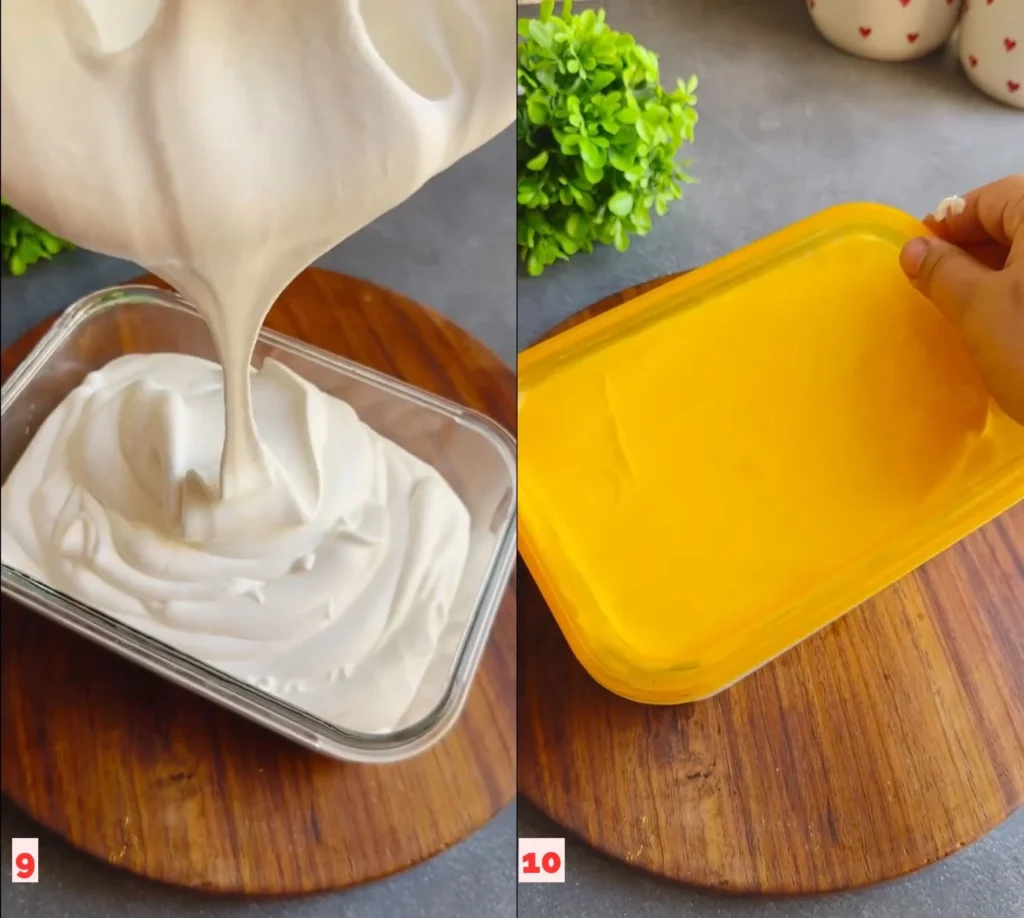
Transfer the finished mixture into an airtight container, spreading it evenly.
Step 5: Seal It Properly
Cover the surface directly with plastic wrap, pressing it down so the wrap touches the cream. This step keeps ice crystals from forming on top as it freezes.
Step 6: Freeze Until Set
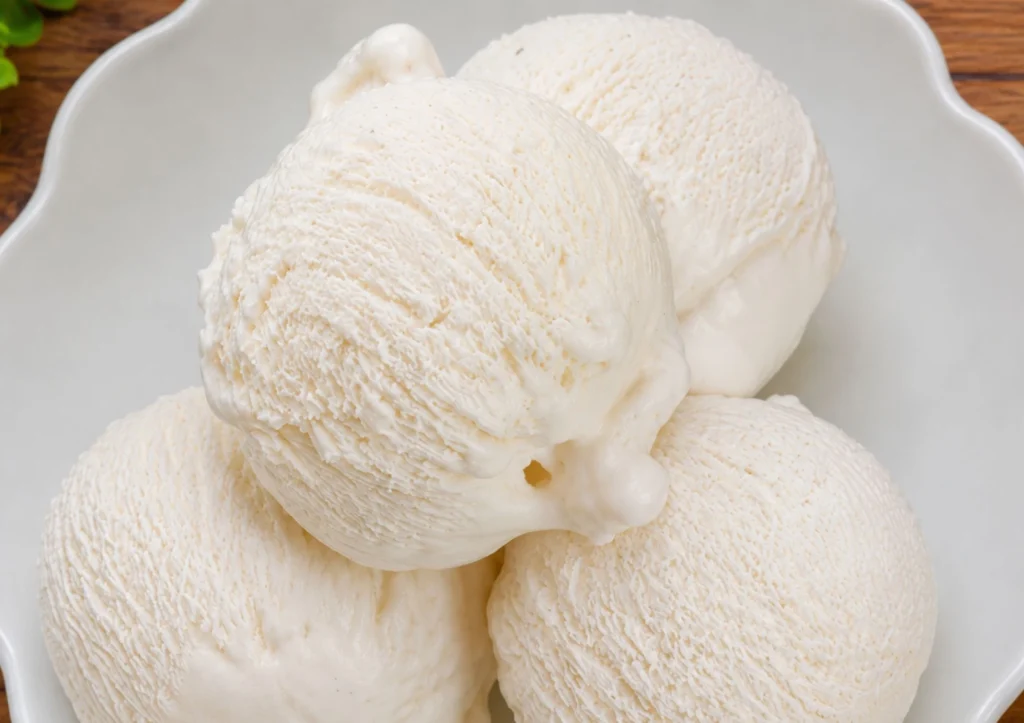
Place the container in the freezer overnight, or for at least 8 hours, until it’s fully set and scoopable.
A Quick Tip for Success
Cold equipment makes all the difference. Before you start whipping, place your mixing bowl and beaters in the freezer for about 10-15 minutes.
Starting with ice-cold tools helps the cream whip up faster and double in volume more easily, which directly affects how light and fluffy your final ice cream turns out.
Tips for the Creamiest Results
Use cream straight from the refrigerator. Room-temperature cream takes longer to whip and won’t reach the same volume.
Don’t skip the plastic wrap step. Direct contact with the surface is what keeps the top layer smooth instead of icy.
Fold gently when combining the condensed milk and vanilla extract into the whipped cream. Overmixing at this stage can knock out the air you just worked to add.
Store the ice cream toward the back of the freezer, where the temperature stays most consistent, rather than in the door.
Serving Suggestions
This vanilla base is a great starting point for all kinds of add ins and toppings.
Try folding in mini chocolate chips, crushed cookies, or a swirl of fruit preserves before freezing.
Once scooped, it pairs well with fresh berries, a drizzle of chocolate or caramel sauce, or a sprinkle of chopped nuts.
No. This is a no-churn recipe, meaning it skips the machine completely. Whipping the cream by hand or with an electric mixer does the job of adding air to the mixture.
Heavy whipping cream is necessary for this recipe because it has enough fat content to whip into stiff peaks. Half-and-half won’t whip properly and will result in a flat, icy texture instead of a creamy one.
Vanilla bean paste or vanilla powder can be used in its place. Adjust the amount slightly to taste, since flavor strength can vary between products.
Sweetened condensed milk is what gives this recipe its texture and sweetness at the same time, so it’s not easily swapped out. Using regular milk or cream instead will change both the sweetness level and the final texture.
Stored in an airtight container, it stays fresh for about 2 to 3 weeks. After that, texture and flavor may start to decline.
This usually happens when the cream isn’t whipped to full stiff peaks, or when the surface isn’t covered directly with plastic wrap before freezing. Both steps help lock in a smooth texture.
Yes, all measurements can be doubled or tripled as needed. Just make sure you’re using a container large enough to hold the increased volume without overflowing.
Yes, all four ingredients used in this base recipe are naturally gluten-free.
This particular recipe relies on dairy-based whipping cream, condensed milk, and whole milk for its texture, so it’s not a simple swap. Dairy-free ice cream typically requires a completely different set of ingredients and method.

No Churn Homemade Vanilla Ice Cream: The 4 Ingredient Dessert You Can Make Tonight
Ingredients
- 1 cups heavy whipping cream cold
- 0.3 cups sweetened condensed milk
- 1 teaspoons vanilla extract
- 0.3 cups whole milk chilled
Instructions
- Whip the cream: In a large chilled bowl, whip 1 cups heavy whipping cream, cold until it thickens and forms stiff peaks.
- Combine the flavors: Add 0.3 cups sweetened condensed milk and 1 teaspoons vanilla extract to the whipped cream. Mix gently but thoroughly until fully combined.
- Add the milk: Pour in 0.3 cups whole milk, chilled and beat once more until smooth and airy.
- Prep for freezing: Transfer the mixture into an airtight container, spreading it evenly.
- Seal it up: Cover the surface directly with plastic wrap, pressing it down so it touches the cream. This prevents ice crystals from forming.
- Freeze until set: Freeze until fully set and scoopable.