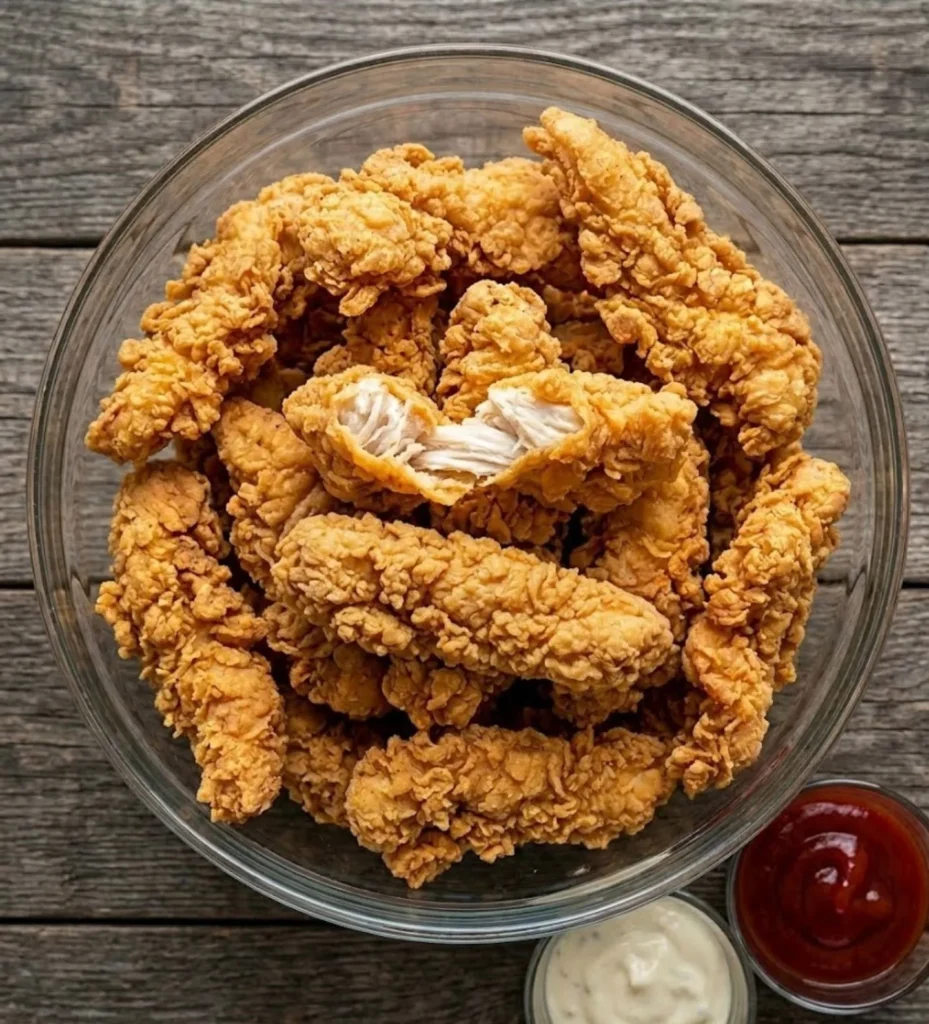
There is something universally comforting about a perfectly fried chicken tender. Whether it’s a quick weeknight dinner for the family or a game day snack, the quest for that elusive, restaurant quality crunch is real.
Many people think you need a complicated 12-spice blend or a commercial deep fryer to get it right, but today we are stripping away the complexity.
We are diving into a recipe that focuses on the science of the batter. By using a specific “wet to dry” coating technique and a few pantry staples, you can create chicken tenders that stay crispy long after they leave the oil.
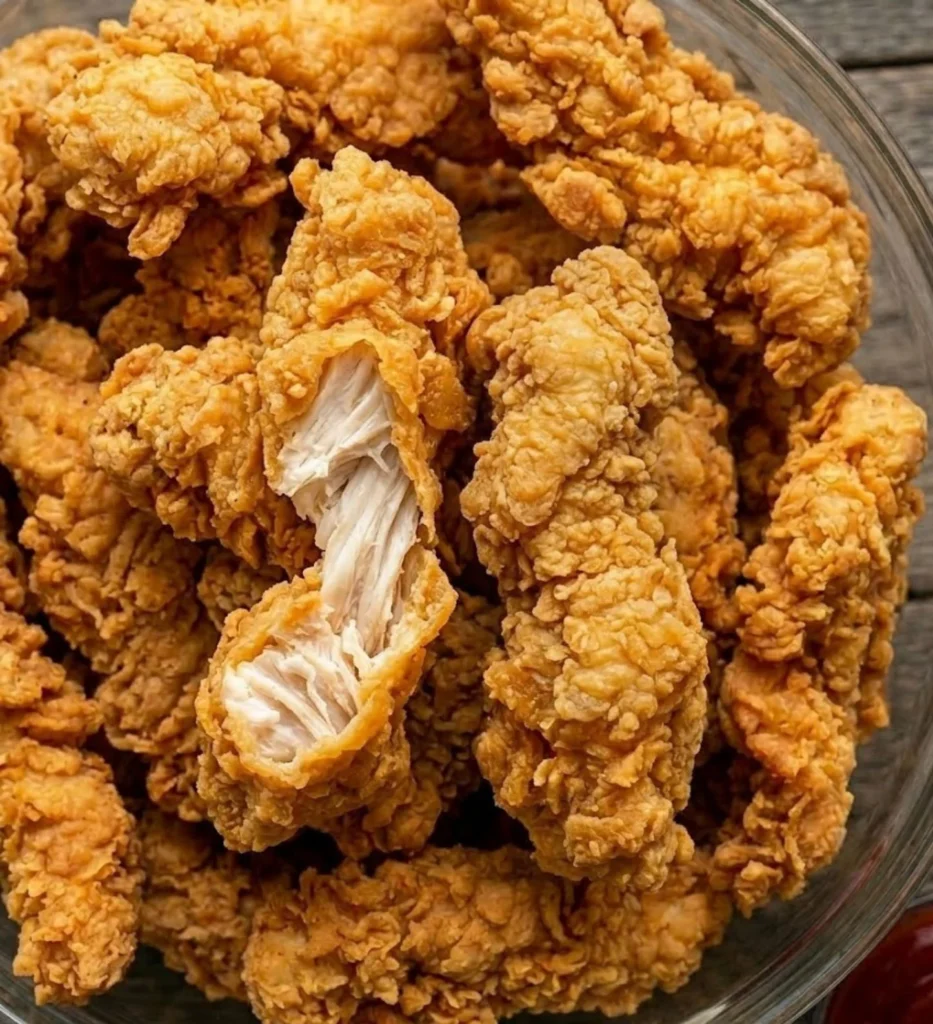
This is the ultimate guide to making Golden Crispy Chicken Tenders that are juicy on the inside and audibly crunchy on the outside.
The “Wet to Dry” Physics of Crunch
Why does some fried chicken turn out soggy while others stay crisp? It all comes down to the moisture barrier. In this recipe, we use a two-step coating process:
The Emulsified Batter: By mixing eggs, water, and flour, we create a thick, tacky base. This “glue” ensures that the spices and the chicken’s natural juices are locked in.
The Dry Flour Shake: Dragging that wet chicken through a secondary layer of plain flour creates “crags” and “nooks.” When these hit the hot oil, they dehydrate instantly, forming those jagged, crunchy peaks that define a great chicken strip.
The Temperature Spike: Frying in small batches ensures the oil temperature doesn’t drop, allowing the crust to “seal” immediately rather than soaking up grease.
Ingredients
This recipe is designed for maximum flavor with minimum effort.
Chicken Breast: 1.3 lbs (approx. 600 grams), sliced into long, even strips.
Egg: 1 large.
All-Purpose Flour: 1 cup (for the batter) + extra for the final dusting.
Water: 1 cup (approx. 100ml note that this is a concentrated measurement for a thicker batter).
Chili Powder: 1 teaspoon (for a subtle warmth and golden color).
Salt: To taste.
Neutral Oil: For frying (Vegetable, Canola, or Peanut oil work best).
The Step by Step Method
1. Prep the Chicken
Slice your chicken breasts into uniform strips. Aim for about 1 inch in width. This ensures that every piece cooks at the same rate, preventing the smaller pieces from drying out while the larger ones finish.
2. Create the “Glue” Batter
In a medium mixing bowl, whisk together the egg, 1 cup of flour, 1 cup (100ml) of water, chili powder, and salt.
Pro Tip: The batter should be thick enough to coat a spoon. If it feels too runny, add a tablespoon more flour. The chili powder here isn’t just for heat; it provides a beautiful sunset-orange hue to the finished crust.
3. The Double Coating Ritual
Place your chicken strips into the wet batter and stir until every inch is submerged. Prepare a separate shallow dish with dry flour.
Take a piece of wet chicken, let the excess batter drip off for a second, and then roll it firmly in the dry flour. Press the flour into the meat to create those irregular textures.
4. The Sizzle
Heat your oil in a heavy bottomed pot or deep skillet to approximately 350°F. Carefully drop the chicken strips into the oil using tongs.
Don’t Overcrowd: Fry only 4–5 pieces at a time. If the pan is too full, the temperature will drop, and your chicken will become greasy.
5. The Golden Hour
Fry for about 5–7 minutes, turning occasionally. You are looking for a deep, golden brown color. Once they reach that perfect shade, remove them and place them on a wire rack or paper towels to drain.

The Secret to Ultra Crunchy Chicken Tenders: A Simple Home Hack
Ingredients
- The Chicken:
- 1.3 lbs 600g Chicken Breast (sliced into 1-inch uniform strips)
- Neutral Oil for frying Vegetable, Canola, or Peanut oil
- The "Glue" Batter Wet:
- 1 cup All-Purpose Flour
- 1 large Egg
- 1 cup approx. 100ml Water (add gradually for a thick consistency)
- 1 tsp Chili Powder for golden color and warmth
- Salt to taste
- The Crunch Coating Dry:
- 1 cup All-Purpose Flour extra for dredging
Instructions
- Prep the Chicken
- Slice: Cut the chicken breasts into even 1-inch strips. Uniformity is key to ensuring all pieces cook through at the same time without drying out.
- Mix the "Glue" Batter
- Whisk: In a medium bowl, combine 1 cup of flour, the egg, water, chili powder, and salt.
- Texture Check: The batter should be thick enough to heavily coat a spoon. If it’s too thin, whisk in an extra tablespoon of flour.
- The Double-Coating Ritual
- Submerge: Place all chicken strips into the wet batter and stir until fully coated.
- Dredge: Lift a strip, let the excess drip for a second, then toss it into a shallow dish of dry flour.
- Press: Firmly press the dry flour into the wet batter to create “nooks and crags”—these become the extra-crunchy bits once fried.
- The Sizzle
- Heat: Fill a heavy-bottomed pot with oil and heat to 350°F.
- Fry: Carefully drop 4–5 strips into the oil at a time. Do not overcrowd the pan, as this drops the oil temperature and leads to greasy chicken.
- The Golden Finish
- Time: Fry for 5–7 minutes, turning occasionally, until the crust is a deep golden brown and the chicken is cooked through.
- Drain: Place on a wire rack to maintain the crunch while the excess oil drips off.
Absolutely! Thighs are actually more forgiving because they have a higher fat content, making them harder to overcook. The process remains exactly the same.
This usually happens if the chicken was too wet before it went into the batter, or if you didn’t press the dry flour firmly enough into the wet coating. Make sure to pat the raw chicken dry with a paper towel before starting the process.
Never stack fried chicken on a plate; the steam from the bottom pieces will soften the ones on top. Keep the finished tenders on a wire rack in a 200°F oven while you finish the rest of the batches.
This specific wet batter is designed for deep frying. If you want to air-fry, you would need to add a bit of oil to your dry flour mix to create a “wet sand” texture, otherwise, the flour will stay raw and white in the air fryer.
Pro Tip
For the loudest crunch, use a wire cooling rack instead of paper towels. Paper towels can trap steam under the chicken, which softens the bottom crust. A rack allows air to circulate, keeping the “crags” perfectly crisp on all sides.