In a world of complicated desserts that require hours of prep, a mountain of dishes, and a degree in pastry arts, sometimes the most profound joy comes from simplicity. Imagine a dessert that is light as air, velvety smooth, and requires zero baking.
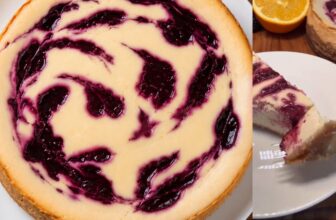
Meet the Skinny Strawberry Cloud Cheesecake. This isn’t your heavy, calorie dense traditional New York cheesecake.
Instead, it’s a modern, airy interpretation that uses the science of aeration and gelling to create a “cloud-like” texture. With only four main ingredients and a few minutes of active work, this is the ultimate “guilt-free” hack for anyone who wants a sophisticated treat without the heavy lifting.
The Secret of the “Cloud” Texture
You might be wondering how such a short ingredient list results in a cheesecake-like consistency. The secret lies in the Emulsification of Yogurt and Gelatin:
The Protein Punch: Using a thick, strained yogurt (like Turkish or Greek style) provides the body and tanginess of cream cheese but with a much lighter profile.
The Setting Agent: The flavored jelly powder acts as both the sweetener and the structural backbone. When whisked into the yogurt, it creates a stable foam that sets into a delicate, mousse-like “cloud.”
Temperature Control: The critical step is letting the gelatin mixture cool slightly before adding the yogurt. This prevents the dairy from “splitting” or curdling, ensuring a silky, professional finish every time.

Ingredients
This recipe is designed to be accessible and quick. Here is what you will need:
Hot Water: 1 cup (250 ml), just off the boil.
Strawberry Jelly Powder: 1 standard pack (approx. 3 oz). Note: You can swap this for Raspberry or Lemon for a different flavor profile!
Thick Strained Yogurt: 1 cup (250 g). Look for Turkish Style or a whole-milk Greek Yogurt for the creamiest results.
Fresh Strawberries: A handful, sliced for topping.
Chocolate Shavings: For garnish (dark or milk chocolate).
The Simple Step by Step Method
1. The Dissolve
Pour your strawberry jelly powder into a heat-proof mixing bowl. Add the 1 cup of boiling water and whisk vigorously until the powder is completely dissolved and the liquid is clear.
2. The Tempering (Crucial Step!)
Let the liquid jelly sit at room temperature for about 5–10 minutes. It should still be liquid, but no longer steaming hot. This prevents the heat from “shocking” the cold yogurt, which can cause lumps.
3. The Whisk
Add the thick yogurt to the bowl. Use a whisk or an immersion blender to combine the two. Whisk until the mixture is a uniform, pastel pink and no white streaks of yogurt remain. You’ll notice small air bubbles forming—this is exactly what gives it that “cloud” feel!
4. The Mold
Pour the mixture into individual dessert glasses, ramekins, or even a small silicone mold if you want to be fancy.
5. The Chill
Place the containers in the refrigerator for at least 2 to 3 hours. Because of the high yogurt content, this sets faster than standard Jell-O but stays much creamier.
6. The Final Flourish
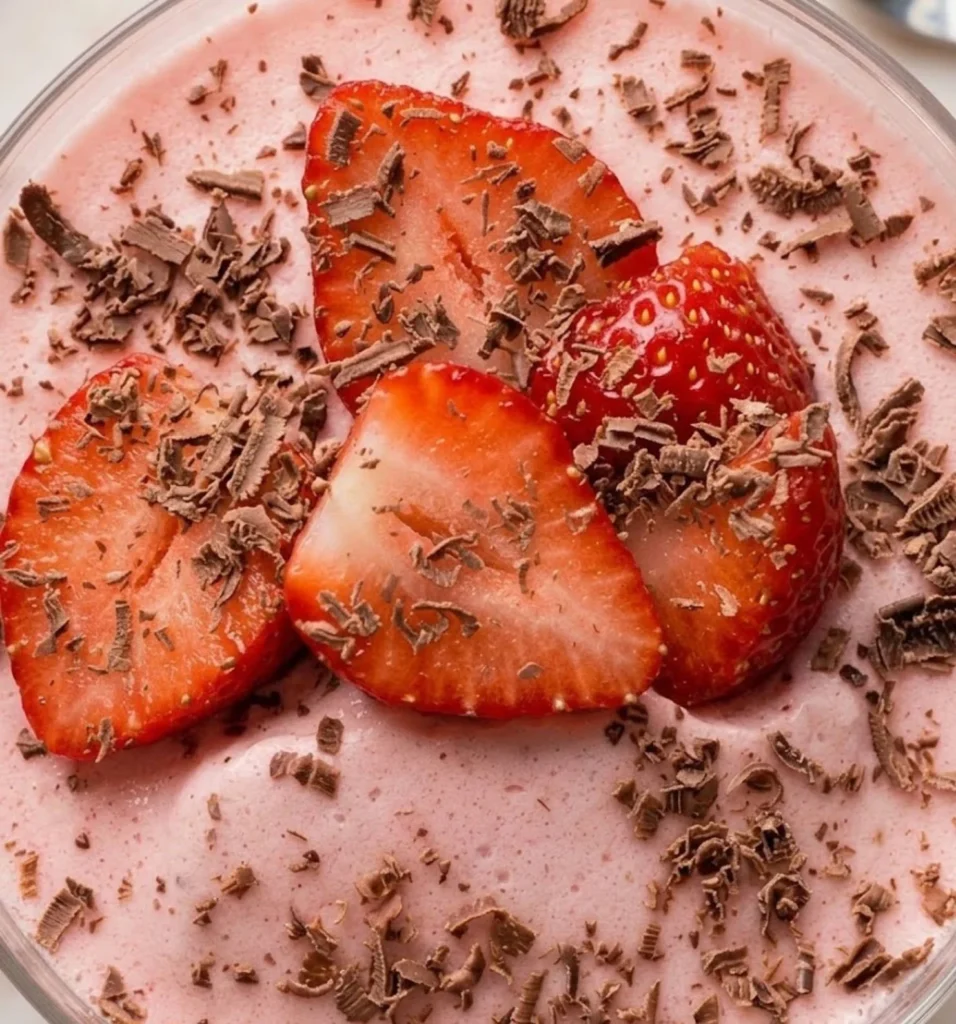
Once the “cheesecakes” are firm to the touch, top them with fresh sliced strawberries. Use a vegetable peeler to create delicate chocolate shavings over the top for a gourmet look.

The 4 Ingredient Magic: Skinny Strawberry Cloud Cheesecake
Ingredients
- The Cloud Base:
- 1 cup 250 ml Boiling Water
- 1 pack 3 oz Strawberry Jelly Powder (Sugar-free optional)
- 1 cup 250 g Thick Strained Yogurt (Turkish or Greek style)
- The Toppings:
- A handful of Fresh Strawberries sliced
- 1 tbsp Chocolate Shavings Dark or Milk
Instructions
- Dissolve the Base
- Mix: Pour the strawberry jelly powder into a heat-proof bowl.
- Whisk: Add the boiling water and stir vigorously until the powder is completely dissolved and the liquid is clear.
- Temper the Liquid
- Cool: Let the mixture sit at room temperature for 5–10 minutes. It should still be liquid but no longer steaming hot. This prevents the yogurt from curdling upon contact.
- Create the "Cloud" Emulsion
- Combine: Add the thick yogurt to the bowl.
- Aerate: Whisk or use an immersion blender until the mixture is a uniform pastel pink and light air bubbles begin to form.
- Portion and Set
- Pour: Distribute the liquid mixture into individual dessert glasses or small molds.
- Chill: Place in the refrigerator for 2–3 hours until the texture is firm yet bouncy to the touch.
- Garnish and Serve
- Top: Just before serving, layer the sliced fresh strawberries over the set cloud.
- Finish: Sprinkle with chocolate shavings for a gourmet touch.
You can, but the texture will be less “cheesy” and more “gelatinous.” A full-fat or 2% Turkish/Greek yogurt provides the essential fats that mimic the mouthfeel of real cheesecake.
Absolutely. Simply use a sugar-free jelly powder and a plain, unsweetened yogurt. It’s an excellent high-protein, low-carb snack.
This happens if the yogurt wasn’t whisked thoroughly enough or if the jelly water was too hot when the yogurt was added. Make sure to whisk until completely homogenous!
Yes! Blueberries, raspberries, or even mango slices work beautifully. Just match your jelly powder flavor to the fruit for the best experience.
Pro Tip
For the most authentic “cheesecake” tang, ensure you use a whole-milk yogurt. The natural fats in the yogurt provide the creamy mouthfeel that mimics traditional cream cheese while keeping the overall dish light and airy.