There’s a moment in every health conscious person’s life where they stare down a regular brownie and think I want that, but I don’t want everything that comes with it. The butter. The refined sugar. The white flour.
The guilt that lingers longer than the chocolate flavor does. If that moment sounds familiar, this recipe is about to change everything for you.
Three ingredients. No flour. No butter. No refined sugar. No protein powder, no black beans, no avocado, no weird substitutes that make you feel like you’re eating a science experiment.
Just one apple, two eggs, and cocoa powder blended together and baked into a brownie that is genuinely, legitimately, surprisingly delicious.
This isn’t a “healthy brownie that’s pretty good for what it is.” This is a healthy brownie that stands on its own as a dessert worth making on repeat.
Let’s talk about why this works, how to make it perfectly, and why it’s about to become the most-requested recipe in your household.
Why This 3 Ingredient Brownie Actually Works
The first thing most people wonder when they see this ingredient list is: how on earth does an apple replace butter, sugar, AND flour all at once? The answer is both simple and kind of brilliant.
Apples are naturally loaded with pectin, a soluble fiber that acts as a binding agent when blended and heated.
In baking, pectin functions similarly to how gluten in flour does it holds structure and gives the final product a cohesive, sliceable texture.
Beyond structure, apples bring natural fructose sugars to the mix, which means no added sweeteners are needed. When baked, those natural sugars caramelize slightly and deepen in flavor, giving the brownie a sweetness that feels genuinely satisfying rather than artificially sweet or flat.
The two eggs pull double duty. The egg yolks add richness, fat, and that fudgy, dense quality that makes a great brownie feel indulgent. The egg whites provide lift and structure, giving the brownie enough body to hold together cleanly when cut.
And the cocoa powder? It’s doing all the heavy lifting on flavor. Unsweetened cocoa powder is intensely chocolatey rich, slightly bitter, deeply complex and when it combines with the natural sweetness of the apple and the richness of the yolks, the result is a brownie batter that tastes like it has no business being this good with only three ingredients.
Ingredients
Here’s everything you need and that’s genuinely everything:
- 1 large apple (Fuji, Honeycrisp, or Gala work best for natural sweetness)
- 2 large eggs
- 3 tablespoons unsweetened cocoa powder (approximately 40 grams)
That’s it. Nothing else. No salt, no vanilla, no leavening agents though we’ll touch on optional additions in the tips section if you want to customize.
Choosing the Right Apple
Not all apples are created equal for this recipe. You want a variety that is naturally sweet rather than tart, and one that blends into a completely smooth puree without leaving fibrous chunks behind.
Fuji apples are the top pick they’re dense, very sweet, and blend ultra smoothly. Honeycrisp apples are a close second, offering a beautiful balance of sweetness and mild tartness.
Gala apples work well too. Avoid Granny Smith their high tartness and lower natural sugar content will result in a noticeably less sweet, more bitter brownie.
Step by Step Instructions
Step 1 Preheat your oven
Set your oven to 350°F (equivalent to 180°C) and allow it to fully preheat before your batter goes in. A properly preheated oven is essential for even baking and the right texture.
Step 2 Prep the apple
Peel and core your apple and cut it into rough chunks. You want to remove all the skin and seeds the skin can leave fibrous bits in the batter even after blending, which affects the final texture.
Step 3 Blend the apple into a smooth puree
Place the apple chunks into a blender or food processor and blend until completely smooth no chunks, no fibrous pieces, just silky apple puree. This is the foundation of your brownie batter, so take an extra 30 seconds to make sure it’s truly smooth.
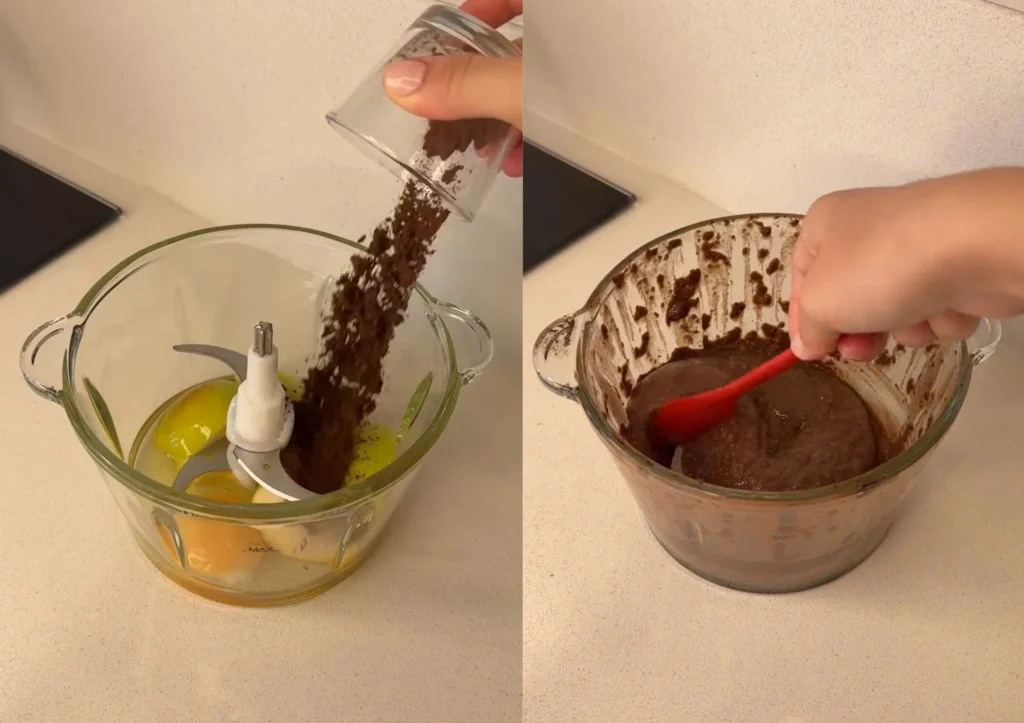
Step 4 Add the eggs and cocoa powder
Add the two eggs and the cocoa powder directly to the blended apple puree in the blender or food processor. Blend everything together until completely combined, smooth, and uniform in color. The batter will be fairly thin and pourable this is normal and exactly what you want.
Step 5 Pour into a prepared baking dish
Pour the batter into a small baking dish or brownie pan lined with parchment paper or lightly greased. An 8×8 inch square pan works well, though a slightly smaller pan will give you thicker brownies. Spread the batter evenly with a spatula.
Step 6 Bake at 350°F for 25 to 30 minutes
Place the pan in your preheated oven and bake for 25 to 30 minutes. Start checking at the 25-minute mark the brownie is done when the edges are set, the center no longer jiggles when you gently shake the pan, and a toothpick inserted in the center comes out with just a few moist crumbs (not wet batter).
Do not overbake pulling them slightly early keeps the fudgy texture intact.
Step 7 Cool completely before slicing
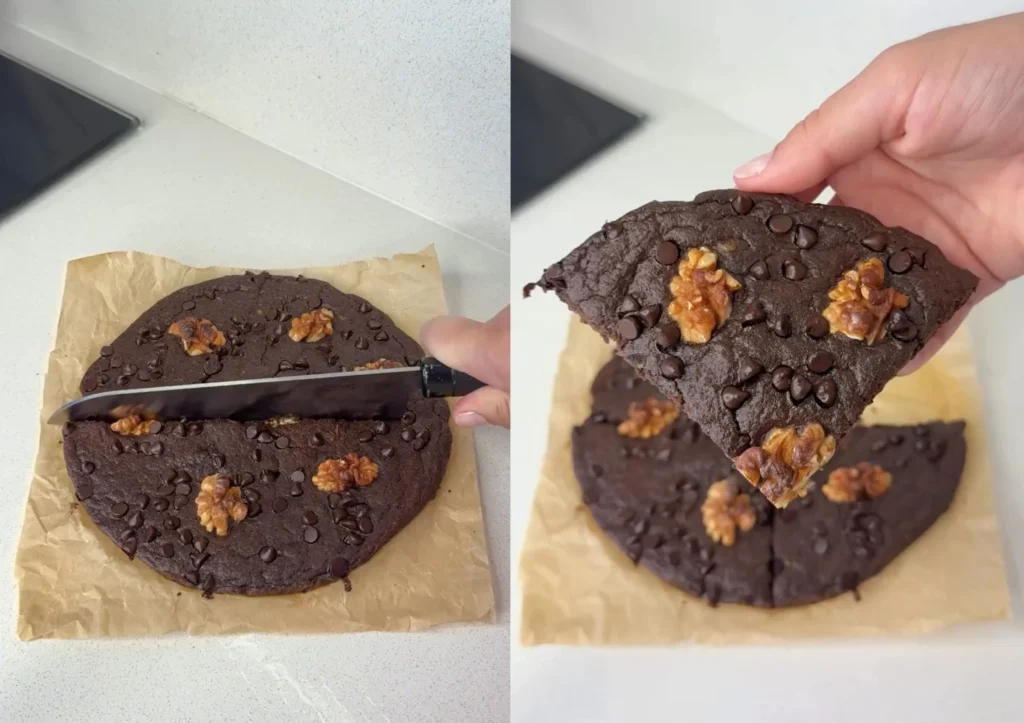
This step is non negotiable. Let the brownies cool in the pan for at least 15 to 20 minutes before attempting to slice. They continue to set as they cool, and cutting too early will result in a crumbly, messy slice rather than clean, even squares. Once cooled, lift out using the parchment paper and slice into squares.
Tips for the Best Results
Use the ripest apple you can find. A riper apple is sweeter and blends more smoothly, which means a sweeter, smoother brownie.
For a richer chocolate flavor, use Dutch-process cocoa powder instead of natural cocoa. It’s deeper, smoother, and less bitter.
Want a little extra sweetness? Add one tablespoon of pure maple syrup or honey to the batter it blends right in and keeps the ingredient list minimal.
A pinch of salt and half a teaspoon of pure vanilla extract both elevate the chocolate flavor significantly if you want to go slightly beyond the base three ingredients.
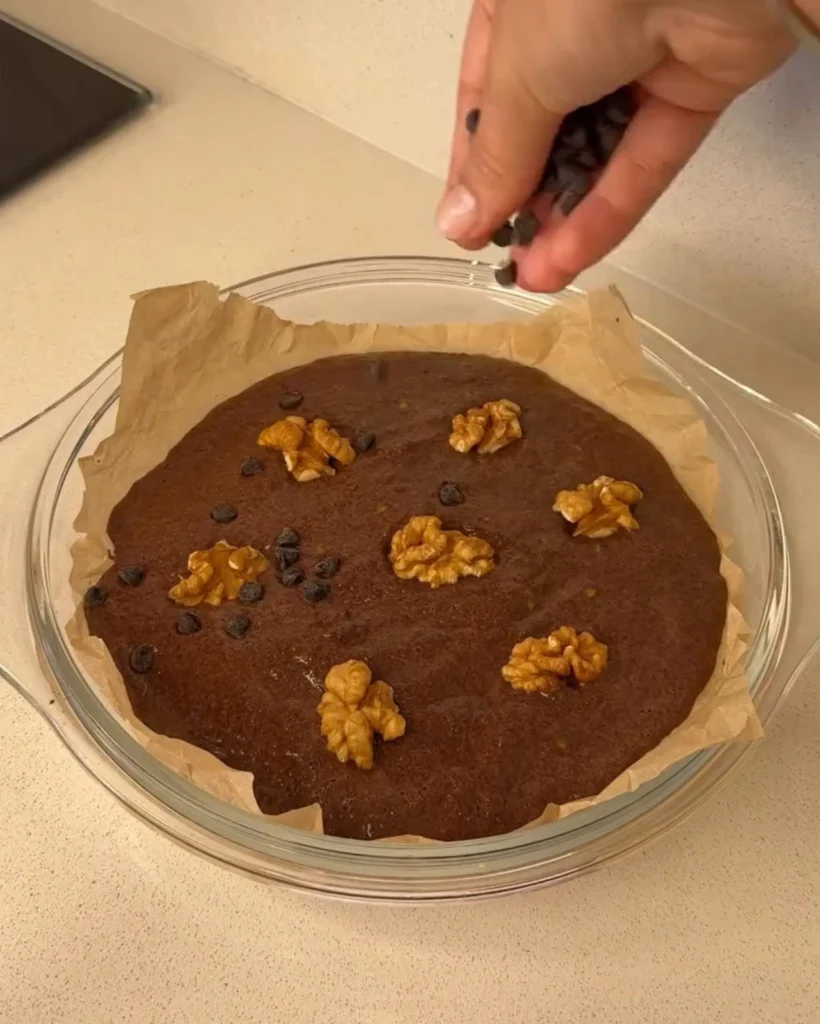
Fold in a small handful of dark chocolate chips before baking for pockets of melted chocolate that make every bite more indulgent.
Line your pan with parchment paper for easy removal and cleaner slices every time.
How to Serve These Brownies
These brownies are wonderful on their own, but a few simple additions make them feel truly special. Dust lightly with a little extra cocoa powder or powdered sugar right before serving for a beautiful presentation.
Top with a dollop of plain Greek yogurt for a creamy, protein rich accompaniment. Add fresh berries on the side raspberries and strawberries pair exceptionally well with the deep chocolate flavor.
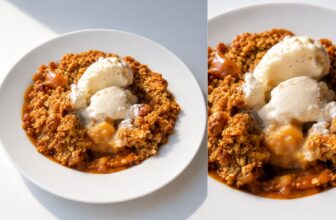
For a more indulgent occasion, a small scoop of vanilla ice cream alongside a warm brownie square is absolutely irresistible, even for a “healthy” dessert.
Nutritional Highlights
While exact macros depend on the size of your apple and the specific cocoa powder used, this brownie is genuinely impressive from a nutritional standpoint.
It’s naturally gluten-free, dairy-free, and refined sugar-free. The apple contributes fiber, vitamin C, and potassium.
The eggs provide complete protein and healthy fats. The cocoa powder delivers flavonoids the antioxidants associated with heart health and improved mood. This is a dessert you can feel legitimately good about eating, and even better about serving to your kids.
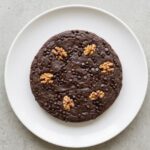
The Best 3 Ingredient Healthy Brownie That Actually Tastes Like Dessert
Ingredients
- 1 large apple peeled and cored (Fuji, Honeycrisp, or Gala recommended)
- 2 large eggs
- 3 tablespoons unsweetened cocoa powder approximately 40 grams
Instructions
- Preheat oven to 350°F (180°C) and allow to fully preheat before baking.
- Peel, core, and roughly chop the apple into chunks, removing all skin and seeds.
- Blend apple chunks in a blender or food processor until completely smooth with no lumps or fibrous pieces remaining.
- Add the two eggs and cocoa powder directly to the apple puree in the blender and blend until fully combined, smooth, and uniform in color.
- Line an 8×8 inch baking pan with parchment paper or lightly grease it.
- Pour batter evenly into the prepared pan and spread smooth with a spatula.
- Bake at 350°F for 25–30 minutes until edges are set, center no longer jiggles, and a toothpick inserted in the center comes out with just a few moist crumbs.
- Remove from oven and cool in the pan for 15–20 minutes before slicing — do not cut early as brownies continue to set while cooling.
- Lift out using parchment paper, slice into 9 squares, and serve.
Notes
Use the ripest, sweetest apple available a riper apple means a naturally sweeter brownie without any added sugar.
For deeper chocolate flavor use Dutch process cocoa powder instead of natural cocoa.
Optional add-ins that keep the recipe clean: 1 tablespoon pure maple syrup or honey for extra sweetness, a pinch of salt, ½ teaspoon pure vanilla extract, or a small handful of dark chocolate chips folded in before baking.
Always cool completely before slicing for clean, even squares brownies firm up significantly as they cool.
Store in an airtight container in the refrigerator for up to 4 days flavor and texture improve on day two.
Freeze individual squares wrapped tightly in plastic wrap for up to 1 month; thaw at room temperature for 20–30 minutes before serving.
Do not substitute cocoa powder with hot cocoa mix or chocolate milk powder both contain added sugar and fillers that will throw off the recipe.
They taste like a rich, dense, chocolate baked good that is genuinely satisfying as a dessert. The texture is slightly more cake-like than a traditional fudgy brownie made with butter and sugar, but the chocolate flavor is deep and real. Most people who try these are genuinely surprised by how good they are given the ingredient list.
A blender or food processor gives the smoothest result and is strongly recommended. If you don’t have one, you can grate the apple very finely on a box grater and mix everything together vigorously by hand — the texture will be slightly less smooth but the brownies will still taste great.
Store in an airtight container in the refrigerator for up to 4 days. They actually taste even better on day two after the flavors have had time to develop and the texture firms up a little more. You can also freeze individual squares wrapped tightly in plastic wrap for up to one month thaw at room temperature for 20 to 30 minutes before eating.
Absolutely. Double all three ingredients and bake in a 9×13 inch pan. You may need to add 5 to 8 extra minutes to the baking time check for doneness with a toothpick starting at the 30-minute mark.
These are one of the best treats to make for kids precisely because they’re made entirely from whole, recognizable ingredients with no added refined sugar. Kids generally love them especially when you tell them the secret ingredient is apple only after they’ve already eaten two squares.
Unsweetened cocoa powder is strongly recommended for the best flavor and texture. Cacao powder is a great natural alternative with a slightly more intense flavor and higher antioxidant content. Do not substitute with hot cocoa mix or chocolate milk powder both contain added sugar and fillers that will throw off the recipe.
The most likely cause is either an apple with very high water content or pulling them from the oven too early. Make sure your apple is fully blended to a smooth puree (no watery separation), bake until the center is fully set, and always allow the brownies to cool completely before slicing they firm up significantly as they cool.