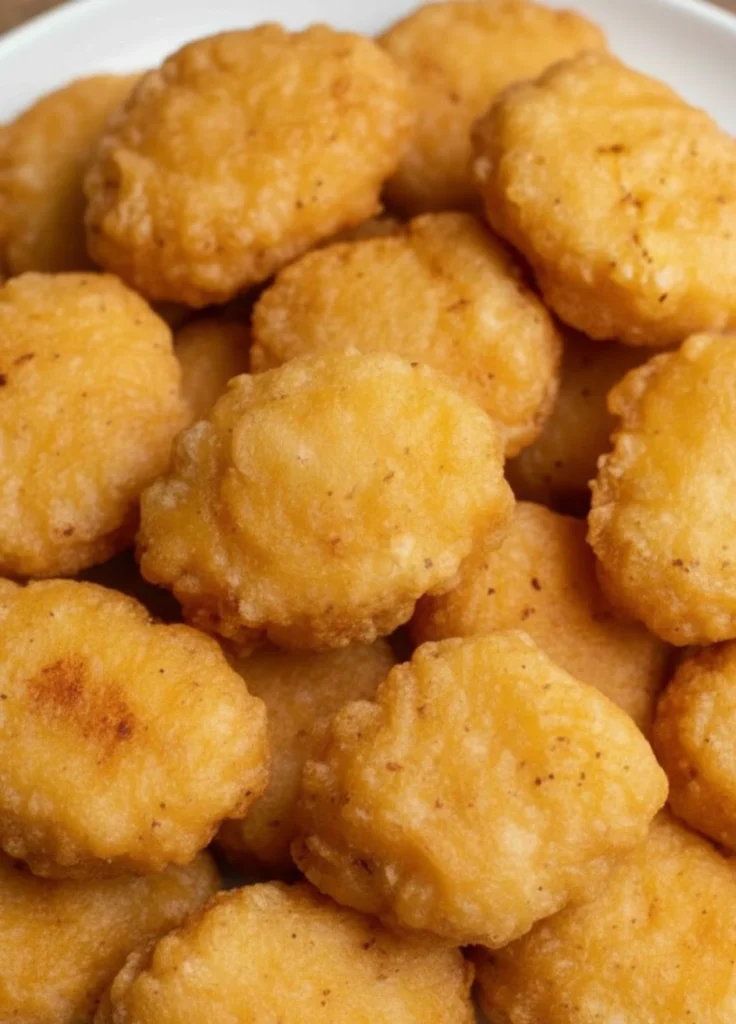
We have all been there: that undeniable craving for a box of world famous fast food nuggets. There is something about that specific combination of a light, tempura style crunch and a tender, savory interior that feels like the ultimate comfort food.
But what if you could replicate that exact experience in your own kitchen without the “mystery meat” or the industrial preservatives?
Enter the Ultimate Copycat Chicken Nuggets. This recipe isn’t just a “healthy alternative”; it is a culinary upgrade.
By using 100% transparent ingredients, you can serve a snack that satisfies the pickiest of children and the most discerning of foodies.
Once you’ve tasted the difference between a nugget made with fresh chicken breast and one from a factory, there is simply no going back.
In this guide, we are diving deep into the science of the “Macdonald’s” crunch, the importance of the “flash freeze,” and how to achieve that iconic golden hue right in your own kitchen.
Why This Homemade Version Reigns Supreme
If you are wondering why you should spend 30 minutes in the kitchen instead of five minutes in a drive-thru, here is the breakdown:
Total Ingredient Transparency: When you make these at home, you are the quality control manager. No fillers, no pink slime just real chicken and high quality spices.
The “Easy Peasy” Factor: Despite their professional appearance, these nuggets are incredibly simple to prepare. It’s a fantastic weekend project to do with kids, who love the hands on process of shaping the “dough.”
The Flavor Reveal: This recipe has been “field tested” on friends and family. The consensus? They are more flavorful than the original because the spices are fresh and the chicken is real.
Budget-Friendly: You can produce a massive “party pack” of nuggets for the price of a small meal at a restaurant. It’s high volume deliciousness on a budget.
Healthier Frying: By using fresh oil at home and controlling the batter thickness, you avoid the heavy, grease soaked texture of fast food.
The Ingredient Breakdown: Selecting Your Toolkit
To achieve that signature “Golden Arches” vibe, every ingredient plays a specific role.
The Protein
Chicken Breast: While you can use strips, the chicken breast is the gold standard for nuggets. It provides a clean flavor and the perfect texture when puréed.
The Aromatics & Spices
Garlic Powder: Essential for that savory, nostalgic “nugget” smell.
Paprika: This provides a subtle warmth and helps the batter achieve that deep golden color during frying.
Salt and Pepper: To taste, ensuring the meat is seasoned from the inside out.
The “Science” of the Crunch
Cornstarch: The secret weapon. Cornstarch interferes with gluten development, ensuring the crust remains crisp rather than chewy.
All Purpose Flour: The structural base for our tempura.
Sparkling Water: This is the game-changer. The carbonation creates tiny air bubbles in the batter, making it lighter, fluffier, and more authentic to the “tempura” style used by major chains.
Step by Step Instructions: The Path to Nugget Perfection
Step 1: Preparing the Chicken Purée
Clean and dice your chicken breast. The goal is to turn the chicken into a fine purée. You can do this manually with a sharp knife (chopping until it reaches a paste like consistency) or, more efficiently, pulse it in a food processor or blender.
Transfer the puréed chicken to a bowl and incorporate half of your paprika, garlic powder, salt, and pepper. Mix thoroughly until the spices are evenly distributed.
Step 2: The Iconic Shape & Flash-Freeze
Using slightly damp hands, portion the chicken mixture into small, flat rounds or the classic “boot” and “bell” shapes we all know and love.
Pro Tip: Don’t skip the freezer! Place your shaped nuggets on a plate and freeze them for 15 minutes. Without this step, the nuggets will be too soft to handle and will likely fall apart when you try to dip them in the batter.
Step 3: The Dry Dredge
While the nuggets chill, set up your coating station. In a bowl, whisk together the flour, cornstarch, and the remaining paprika, garlic powder, salt, and pepper.
Remove the nuggets from the freezer and dredge each one through this dry mixture until perfectly coated. This “dry coat” acts as a primer, allowing the wet batter to stick effectively.
Step 4: The Tempura Batter
Once all nuggets are dry-dredged, pour the sparkling water directly into the bowl with the remaining flour/spice mixture. Whisk until you have a smooth, liquid batter aim for the consistency of thin pancake batter.
Step 5: The Golden Fry
Heat your sunflower or vegetable oil in a large skillet until it reaches 355°F (180°C). Dip each dry-coated nugget into the liquid batter and carefully lower it into the hot oil.
Cook for 3 to 4 minutes per side. You are looking for a vibrant, golden-brown crust. Once cooked, transfer them to a plate lined with paper towels to drain any excess oil.
Chef’s Secrets for Success
The Tempura Secret: Many home cooks make the mistake of using a standard egg-and-breadcrumb (Breading) method. While delicious, that results in a “schnitzel” style nugget. For a true copycat experience, the flour + cornstarch + sparkling water tempura batter is non-negotiable.
Oil Temperature: If your oil is too cold, the nuggets will soak up grease and become soggy. If it’s too hot, the outside will burn before the chicken purée inside is safe to eat. A kitchen thermometer is your best friend here.
Avoid Overcrowding: Only fry 5 or 6 nuggets at a time. Adding too many cold nuggets to the pan at once will cause the oil temperature to drop rapidly.
What to Serve with Your Masterpiece
The beauty of the nugget is its versatility. You can go classic or creative with your sides:
The Classics: Serve with golden French fries or Pommes Noisettes (small potato puffs).
The “Healthy” Swap: Try pairing them with Zucchini fries, Carrot fries, or roasted Cajun sweet potato wedges.
Modern Potato Sides: These nuggets pair beautifully with Smash Potatoes or crispy Accordion Potatoes for an upscale look.
The Sauce: Don’t forget the honey mustard, barbecue sauce, or a tangy sweet-and-sour dip!
Storage, Freezing, and Reheating
Fridge: Once cooled, keep in an airtight container for 2-3 days.
Freezing (The Best Part): You can “pre-freeze” these on a plate for 2 hours, then toss them into a freezer bag for 2 to 3 months. They are the perfect “emergency meal” for busy weeknights.
Reheating: To maintain the crunch, avoid the microwave. Reheat in a 320°F (160°C) oven for 5 to 10 minutes.
Cooking from Frozen: No need to thaw! Place frozen nuggets in a 390°F (200°C) oven for 20-25 minutes, turning once halfway through.
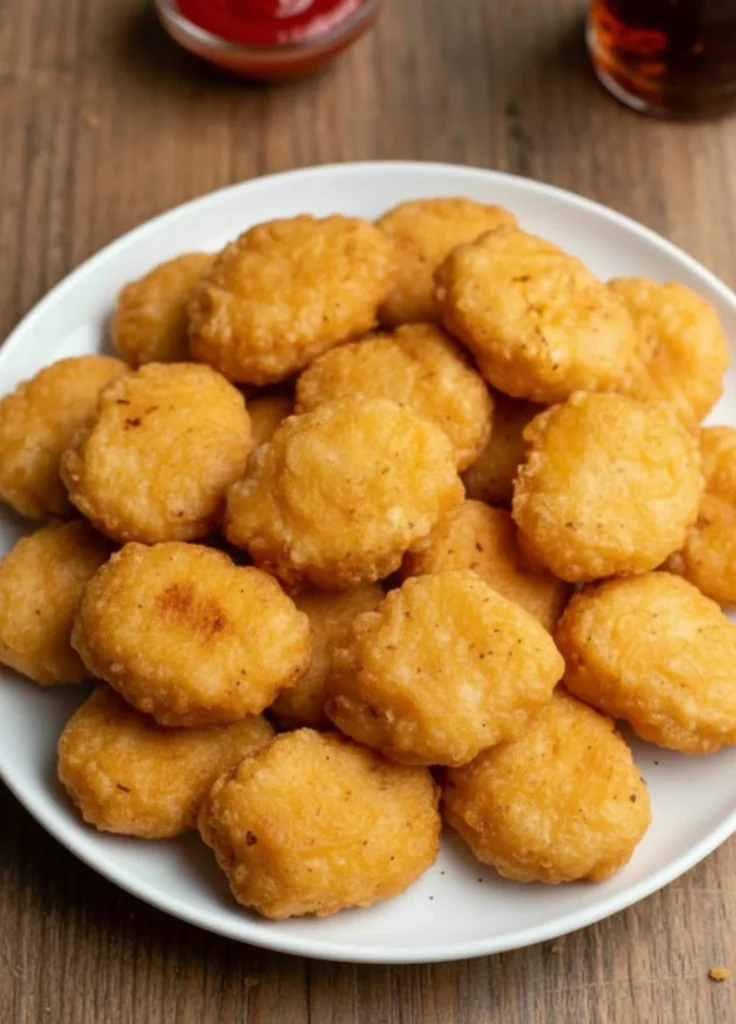
Homemade Golden Copycat Chicken Nuggets
Ingredients
- 11 oz chicken breasts
- 1 tablespoon paprika divided
- 1 teaspoon garlic powder divided
- 1 cup all-purpose flour
- 2 tablespoons cornstarch
- ½ cup sparkling water
- salt to taste
- black pepper to taste
- 4 cups frying oil like sunflower oil
Instructions
- Purée the Chicken: Chop the chicken breast into a very fine paste or pulse in a blender/food processor until it reaches a smooth, dough-like consistency.
- Season the Meat: Transfer the chicken to a bowl and thoroughly mix in half of the paprika and garlic powder, along with salt and pepper.
- Shape & Flash-Freeze: Use your hands to form the mixture into nugget shapes. Arrange them on a plate and freeze for 15 minutes to firm them up for easier handling.
- Prepare the Dry Mix: In a medium bowl, whisk together the flour, cornstarch, and the remaining paprika, garlic powder, salt, and pepper.
- Heat the Oil: Fill a large frying pan with oil and heat until it reaches 355°F (180°C).
- First Coating (Dry): Remove nuggets from the freezer and dredge each one through the flour mixture until fully coated.
- Create the Wet Batter: Pour the sparkling water into the remaining flour mixture and whisk until you have a smooth liquid batter (similar to pancake batter).
- Second Coating (Wet): Dip the dry-coated nuggets into the liquid batter, ensuring total coverage.
- Fry until Golden: Carefully place nuggets in the hot oil. Fry for 3–4 minutes per side until they are deeply golden-brown and crispy.
- Drain & Serve: Remove the nuggets and pat dry with paper towels to remove excess oil. Serve hot!
Yes! For a lighter version, preheat your Air Fryer to 390°F (200°C). Lightly spray the basket and the nuggets with oil. Cook for 8–10 minutes, flip them, and cook for another 2–3 minutes until crispy. Note: The texture will be slightly different than deep-frying, but still very satisfying.
Never pour oil down the sink it’s a recipe for a plumbing disaster. Let the oil cool completely, pour it back into its original bottle (or a glass jar), and take it to a local waste disposal center. If that’s not an option, seal it and place it in the regular trash.
You can, but the fat content is higher. For the specific “clean” bite and white interior of a classic nugget, chicken breast is the superior choice.
Ensure your sparkling water is ice cold. The contrast between the cold batter and the hot oil creates an immediate steam-driven “puff” that results in a superior crunch.