In the world of healthy desserts, most recipes claim to be “guilt free” while requiring a long list of specialty ingredients and complicated techniques.
Not this one. This chickpea cake breaks all the rules with just four simple ingredients that transform into a rich, fudgy, brownie like treat that’s naturally gluten free, refined sugar free, and packed with protein and fiber.
If you’ve never considered chickpeas as a dessert ingredient, prepare to have your mind completely changed.
Why Chickpeas Make an Amazing Dessert Base
The idea of using chickpeas in a cake might sound unusual at first, but these humble legumes have been quietly revolutionizing the healthy baking world for good reason.
Chickpeas, also known as garbanzo beans, have a naturally mild, slightly nutty flavor that completely disappears when combined with stronger flavors like chocolate and banana. What remains is their incredible ability to create a dense, moist texture that rivals any traditional flour based cake.
Nutritionally, chickpeas are powerhouses. They’re loaded with plant-based protein, making this cake surprisingly filling and satisfying.
They’re also rich in fiber, which helps stabilize blood sugar levels and keeps you feeling full longer. Unlike empty calorie desserts made with white flour and refined sugar, this chickpea cake actually provides nutrients your body can use, including iron, magnesium, and B vitamins.
The roasted chickpeas used in this recipe add an extra dimension of flavor. Roasting enhances their natural nuttiness and removes excess moisture, creating a better texture in the final cake.
Plus, roasted chickpeas blend more easily into a smooth batter, ensuring your cake has a uniform, appealing consistency without any graininess.
The Magic of These Four Ingredients
What makes this recipe truly remarkable is how each ingredient serves multiple purposes, creating a synergy that results in dessert perfection.
Roasted Chickpeas: These form the base of your cake, replacing traditional flour entirely. They provide structure, protein, and a subtle nutty undertone that complements the chocolate beautifully.
One cup of roasted chickpeas gives you approximately 15 grams of protein and 12 grams of fiber, making this one of the most nutritious cakes you’ll ever eat.
Banana: Acting as both the sweetener and binder, the banana eliminates the need for eggs, oil, and refined sugar.
A ripe banana provides natural sweetness, moisture, and helps hold everything together. The riper your banana, the sweeter your cake will be. Those brown spotted bananas sitting on your counter? They’re absolutely perfect for this recipe.
Cocoa Powder: Just one tablespoon of unsweetened cocoa powder transforms this from a plain chickpea cake into a rich chocolate treat.
Cocoa powder is loaded with antioxidants and adds that deep, complex chocolate flavor we all crave. It also helps mask any hint of the chickpea base, making the cake taste like a decadent chocolate dessert.
Peanut Butter: This ingredient is the secret weapon. It adds richness, healthy fats, and a subtle peanut butter chocolate flavor that takes this cake to the next level. Peanut butter also contributes to the fudgy texture and helps create a more cohesive batter.
The combination of peanut butter and banana is classic for a reason they complement each other perfectly.
Step by Step Instructions
Making this chickpea cake is almost embarrassingly easy. If you can operate a blender or food processor, you can make this cake.
Step 1: Roast Your Chickpeas
If you’re starting with canned chickpeas, drain and rinse them thoroughly, then pat them completely dry with paper towels or a clean kitchen towel.
Spread them on a baking sheet and roast in a 400°F (200°C) oven for about 20-25 minutes, shaking the pan halfway through, until they’re golden and crispy. Let them cool completely. If you’re using store bought roasted chickpeas, you can skip this step entirely.
Step 2: Blend the Ingredients
Add your one cup of roasted chickpeas to a food processor or high powered blender. Add one peeled banana (the riper, the better), one tablespoon of unsweetened cocoa powder, and one tablespoon of peanut butter.
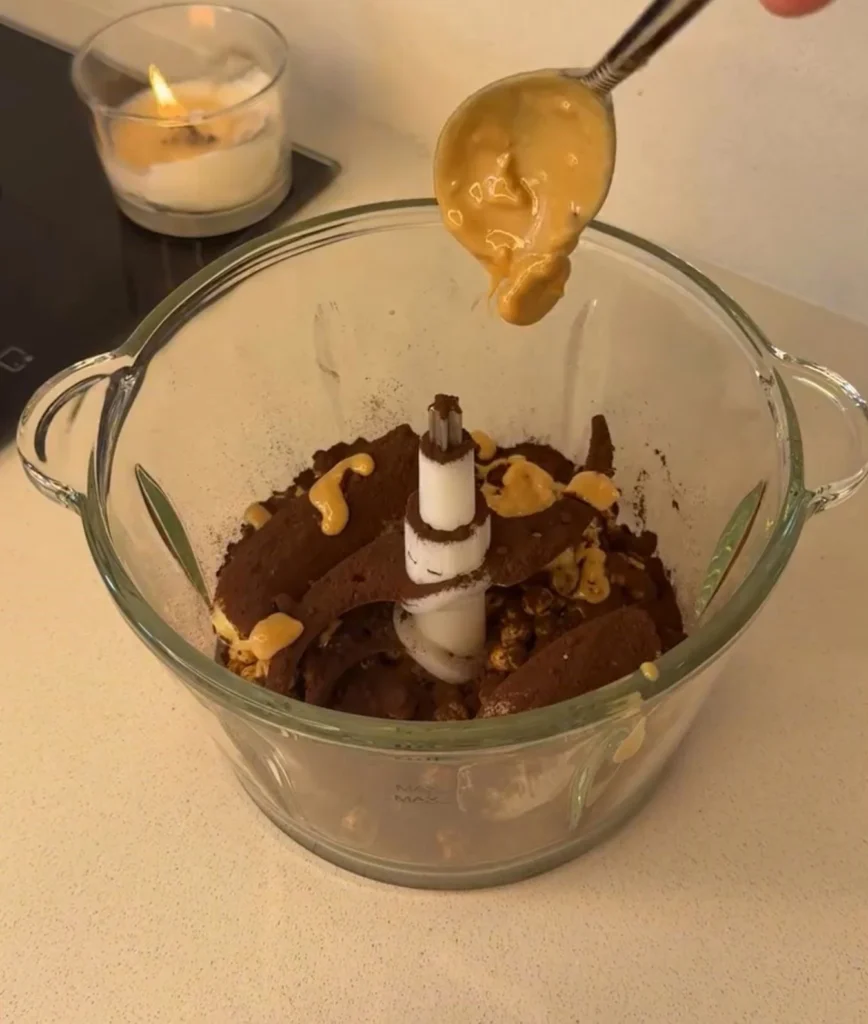
Blend everything on high speed until completely smooth. You may need to stop and scrape down the sides a few times to ensure everything is fully incorporated.
The mixture should be thick and smooth, similar to brownie batter. If it seems too thick to blend properly, you can add a tiny splash of milk (dairy or non dairy) to help it along, but usually the moisture from the banana is sufficient.
Step 3: Prepare Your Pan
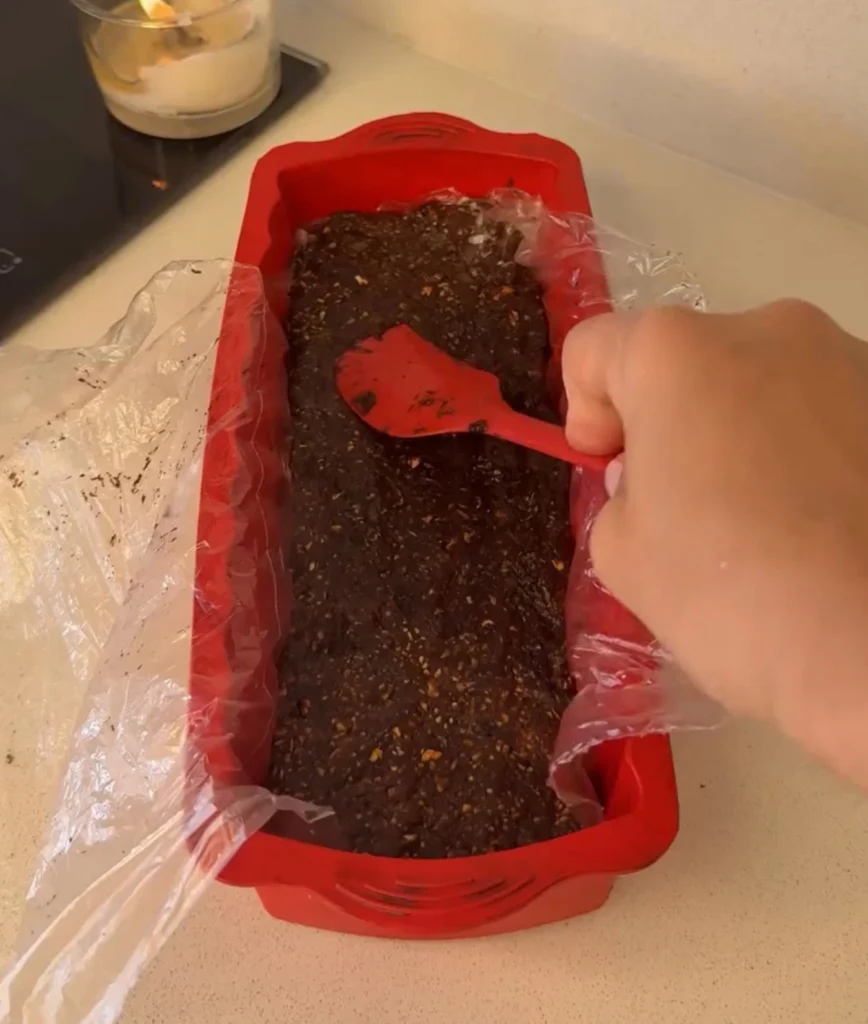
Grease a small cake pan, loaf pan, or even a few ramekins with a little oil or cooking spray. You can also line your pan with parchment paper for easy removal.
The beauty of this recipe is its flexibility you can make one small cake, individual portions, or even bake it in a muffin tin for grab and go snacks.
Step 4: Bake to Perfection
Pour your batter into the prepared pan and smooth the top with a spatula. Bake in a preheated 350°F (175°C) oven for about 20-25 minutes if making a cake, or 15-18 minutes if making individual portions.
The cake is done when the edges look set and a toothpick inserted in the center comes out mostly clean with just a few moist crumbs. Don’t overbake you want this cake to be fudgy and moist, not dry.
Step 5: Cool and Enjoy
Let the cake cool in the pan for about 10 minutes, then transfer to a wire rack to cool completely. The texture actually improves as it cools and sets. Some people prefer this cake warm, while others love it chilled from the refrigerator. Experiment to find your favorite way to enjoy it.
Serving Suggestions and Variations
This basic recipe is delicious on its own, but it’s also incredibly versatile. Here are some ways to customize and serve it:
Toppings and Add-ins:
- Drizzle with melted dark chocolate or peanut butter
- Top with fresh berries or sliced bananas
- Dust with powdered sugar or extra cocoa powder
- Spread with Greek yogurt or coconut whipped cream
- Add chocolate chips to the batter before baking
- Sprinkle with chopped nuts or shredded coconut
Flavor Variations:
- Add a pinch of cinnamon or espresso powder to enhance the chocolate flavor
- Use almond butter instead of peanut butter for a different taste
- Mix in a teaspoon of vanilla extract
- Add a handful of mini chocolate chips or cacao nibs
- Swirl in some nut butter before baking for a marbled effect
Different Formats:
- Make it in muffin tins for portable snacks (bake for 12-15 minutes)
- Shape into energy balls instead of baking for a no-bake option
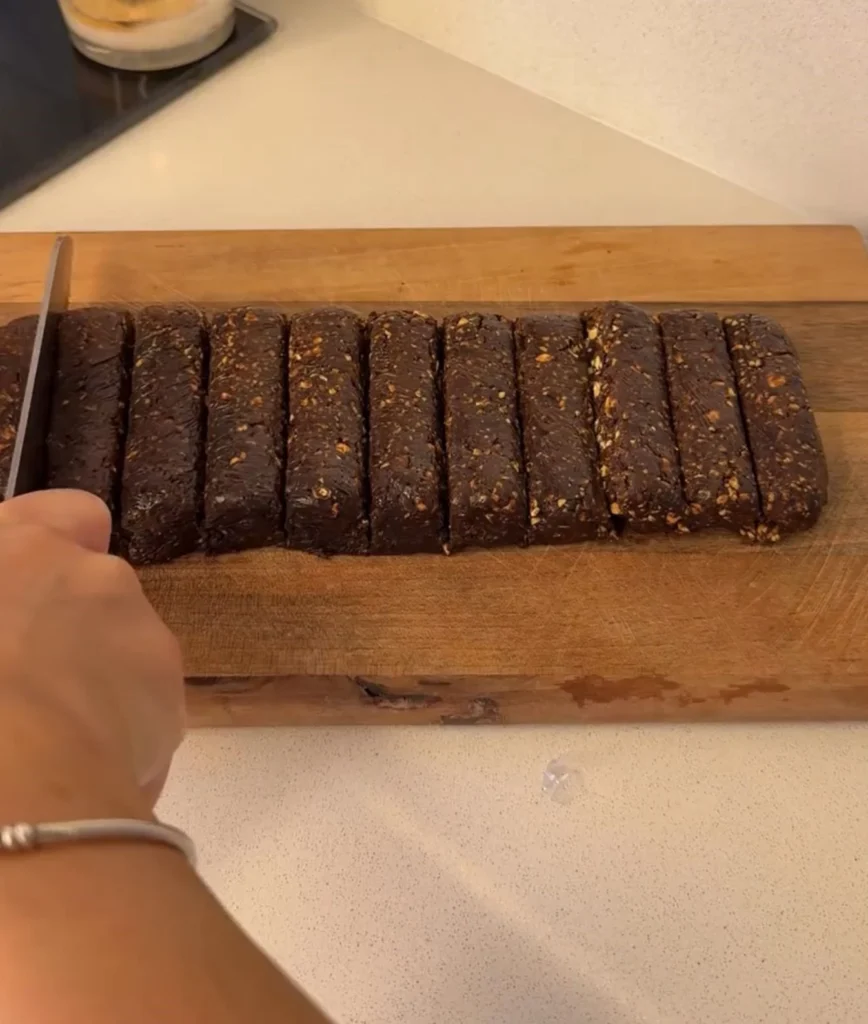
- Press into a square pan and cut into brownie-like squares
- Make mini cakes in ramekins for elegant individual desserts
Storage and Meal Prep
One of the best things about this chickpea cake is how well it keeps. Store it in an airtight container in the refrigerator for up to 5 days.
The flavor and texture actually improve after a day or two as the flavors meld together. You can also freeze individual slices for up to 3 months. Just thaw at room temperature or warm gently in the microwave for a quick treat.
This makes it perfect for meal prep. Bake a batch on Sunday and enjoy healthy dessert all week long. It’s also an excellent option for anyone following special diets, as it’s naturally gluten-free, dairy-free, and can easily be made vegan.
The Ultimate 4 Ingredient Chickpea Cake: Healthy, Delicious, and Unbelievably Simple
Ingredients
- Main Ingredients
- 1 cup roasted chickpeas garbanzo beans
- 1 medium ripe banana the riper, the better
- 1 tablespoon unsweetened cocoa powder
- 1 tablespoon peanut butter creamy or crunchy
- Optional Add-ins
- Pinch of salt
- ½ teaspoon vanilla extract
- 1-2 tablespoons sweetener maple syrup, honey, or agave for extra sweetness
- Chocolate chips or cacao nibs
Instructions
- Step 1: Roast the Chickpeas (If Using Canned)
- If using canned chickpeas, drain and rinse thoroughly
- Pat completely dry with paper towels or clean kitchen towel
- Spread chickpeas on baking sheet in single layer
- Roast in preheated 400°F (200°C) oven for 20-25 minutes
- Shake pan halfway through for even roasting
- Roast until golden and crispy
- Let cool completely before using
- Skip this step if using pre-roasted chickpeas
- Step 2: Blend All Ingredients
- Add 1 cup cooled roasted chickpeas to food processor or high-powered blender
- Peel and add 1 ripe banana
- Add 1 tablespoon unsweetened cocoa powder
- Add 1 tablespoon peanut butter
- Blend on high speed until completely smooth
- Stop and scrape down sides as needed
- Mixture should resemble thick brownie batter
- If too thick, add 1-2 teaspoons milk to help blending
- Ensure no chickpea chunks remain
- Step 3: Prepare the Baking Pan
- Preheat oven to 350°F (175°C)
- Grease small cake pan, loaf pan, or ramekins with oil or cooking spray
- Or line pan with parchment paper for easy removal
- Can use 6-inch cake pan, small loaf pan, or 4 ramekins
- Muffin tin also works for individual portions
- Step 4: Pour and Bake
- Pour smooth batter into prepared pan
- Smooth top with spatula
- Optional: sprinkle chocolate chips on top
- Bake for 20-25 minutes for cake pan
- Bake for 15-18 minutes for ramekins
- Bake for 12-15 minutes for muffins
- Cake is done when edges look set
- Toothpick inserted in center should come out with moist crumbs
- Do not overbake – cake should be fudgy, not dry
- Step 5: Cool and Serve
- Remove from oven when done
- Let cool in pan for 10 minutes
- Transfer to wire rack to cool completely
- Texture improves as it cools and sets
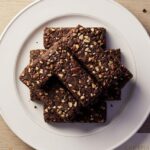
- Can be served warm, room temperature, or chilled
- Store leftovers in refrigerator
Not at all! When blended with banana, cocoa, and peanut butter, the chickpea flavor completely disappears. The cake tastes like a rich, fudgy chocolate dessert with a subtle peanut butter note. Most people who try this cake are shocked when they learn it’s made with chickpeas.
While roasted chickpeas work best because they have less moisture and more developed flavor, you can use canned chickpeas in a pinch. Just make sure to drain and rinse them very well, and pat them completely dry. The texture might be slightly less ideal, but it will still work.
Absolutely! Almond butter, cashew butter, or sunflower seed butter all work beautifully. Each will give the cake a slightly different flavor profile. If you have a nut allergy, sunflower seed butter is an excellent option.
Use a very ripe, spotty banana for maximum sweetness. You can also add a tablespoon or two of maple syrup, honey, or your preferred sweetener to the batter. Keep in mind that one of the benefits of this recipe is its naturally low sugar content, so add sweetener mindfully.
A high-powered blender works well, though you may need to stop and scrape down the sides more frequently. A regular blender might struggle with the thickness of the batter. If you don’t have either, you could try mashing the chickpeas very thoroughly by hand and then mixing in the other ingredients, though the texture won’t be as smooth.
Yes! Kids love the fudgy, brownie-like texture and chocolate-peanut butter flavor. It’s a great way to sneak extra protein and fiber into their diet. You can even let them help make it – blending the ingredients together is fun and easy for little helpers.
The most common cause is overbaking. Remember, this cake should be fudgy and moist, not cakey and dry. Check it a few minutes before the suggested baking time. Also, make sure your banana is ripe and you’re using the full tablespoon of peanut butter, as these ingredients provide moisture.
Definitely! This recipe scales up easily. Just use a larger pan and increase the baking time by 5-10 minutes, checking for doneness with a toothpick.
Compared to traditional cakes, yes! It’s made with whole food ingredients, contains no refined sugar or flour, and provides protein, fiber, and nutrients. However, it’s still a treat and should be enjoyed as part of a balanced diet. The good news is that one serving is quite filling due to the protein and fiber content.
Final Thoughts
This four ingredient chickpea cake proves that healthy desserts don’t have to be complicated, expensive, or filled with hard to find ingredients.
With just chickpeas, banana, cocoa powder, and peanut butter, you can create a satisfying, nutritious treat that rivals any conventional dessert in taste and texture. Whether you’re trying to eat healthier, accommodate dietary restrictions, or simply looking for an easy dessert recipe that won’t leave you with a pile of dishes, this chickpea cake delivers on all fronts.
Give it a try, and you might just find yourself never looking at chickpeas the same way again. Who knew these humble legumes could create such delicious magic?