
There’s something satisfying about making your own pickles at home, and this Refrigerator Dill Pickles recipe makes the process about as simple as it gets.
No canning equipment, no water bath, and no complicated steps. Just a quick brine, a jar of fresh cucumbers, and a week of patience in the fridge before you’re rewarded with crisp, tangy pickles that beat anything you’ll find on a store shelf.
This method relies on the fridge to do the work instead of traditional canning, which makes it approachable even if you’ve never made pickles before.
Whether you like them cut into spears or sliced into chips, this recipe gives you full control over the texture, spice level, and flavor of your finished pickles.
Why Refrigerator Pickles Are Worth Making
The biggest advantage of refrigerator pickles is how straightforward the process is. There’s no sterilizing jars in a hot water bath or worrying about proper canning technique.
You simply make a brine, pack a jar with cucumbers and seasonings, pour the brine over everything, and let the fridge handle the rest.
Because these pickles aren’t shelf stable like traditionally canned pickles, they need to stay refrigerated the entire time, but that trade off comes with a big payoff: a fresher, crisper bite.
The short ice bath step before cutting the cucumbers plays a big role here, helping the cucumbers stay firm and crunchy instead of turning soft once they’re pickled.
Ingredients You’ll Need
Here’s everything required for this recipe. Quantities are based on filling one 32-ounce mason jar.
For the cucumbers:
- Fresh cucumbers (enough to fill a 32-ounce mason jar, cut into spears or chips)
For the brine:
- 1 cup white vinegar
- 1 cup water
- 1 tablespoon salt
- 1 tablespoon sugar
For the jar:
- 2 garlic cloves
- 1 sprig fresh dill
- 1 teaspoon whole peppercorns
- 2 teaspoons mustard seed
- 1½ teaspoons dill weed
Optional, for a spicier version:
- ½ teaspoon crushed red pepper flakes
- 1 sliced jalapeño
That’s everything you need. Most of these ingredients are pantry staples, aside from the fresh cucumbers and dill, which you’ll want to pick up specifically for this recipe.
Step by Step Instructions
Let the cucumbers sit in an ice bath for 1 to 2 hours. This step helps keep the cucumbers crisp once they’re pickled.
While the cucumbers are sitting in the ice bath, make the brine. In a small saucepan over medium heat, combine 1 cup white vinegar, 1 cup water, 1 tablespoon salt, and 1 tablespoon sugar.
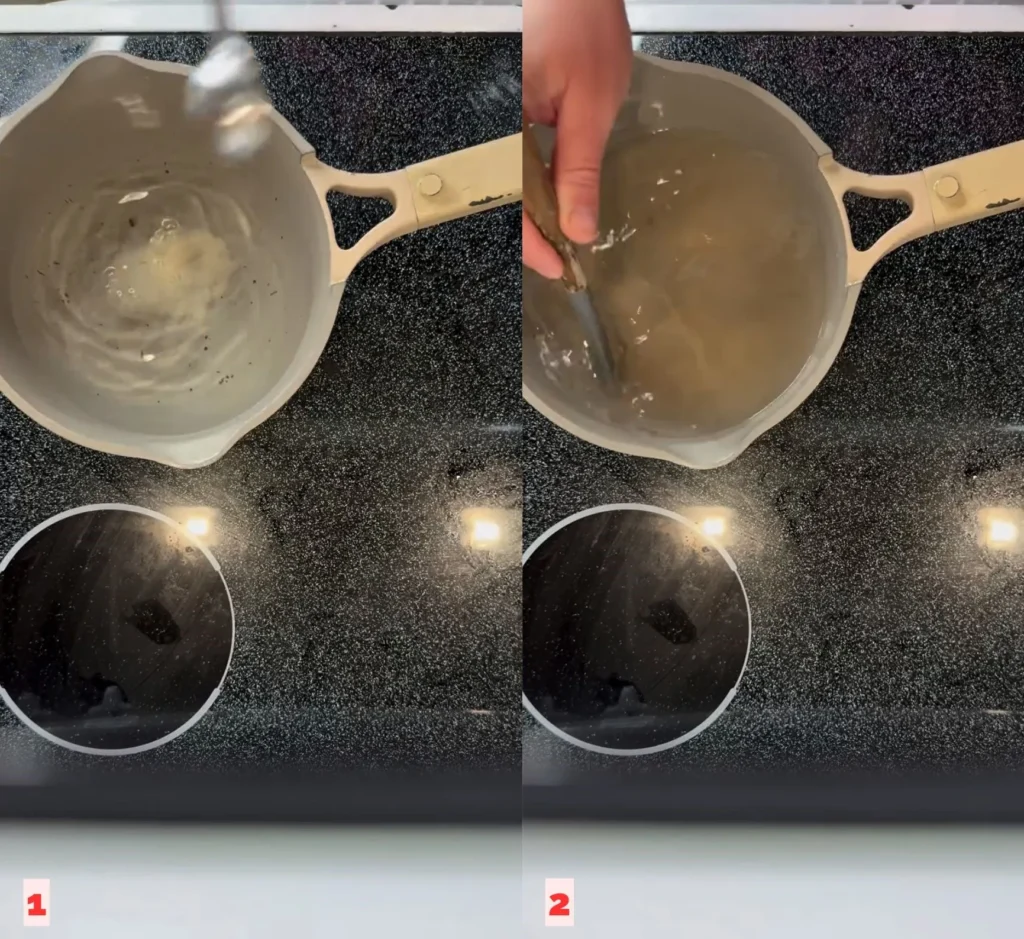
Heat the mixture, stirring occasionally, until the salt and sugar are fully dissolved. Once dissolved, remove from heat and let the brine cool.
While the brine cools, cut the cucumbers into spears or chips, whichever shape you prefer. Cut off each end of the cucumber, which also helps keep the pickles crisp.
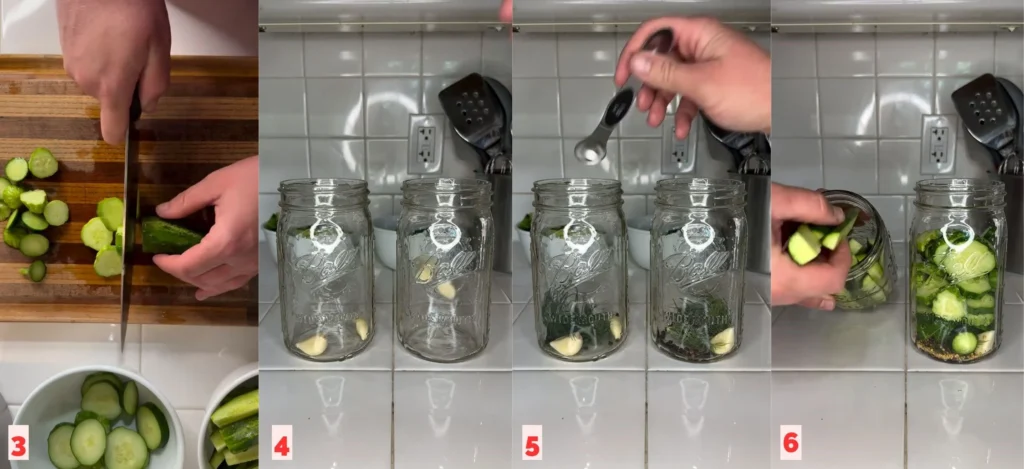
In a 32-ounce mason jar, add the garlic cloves, a sprig of fresh dill, the peppercorns, mustard seed, and dill weed. If you’d like a spicier batch, add the crushed red pepper flakes and sliced jalapeño at this point as well.
Once all the seasonings are in the jar, add the cut cucumbers on top. Pour the cooled brine over the cucumbers, filling the jar completely.
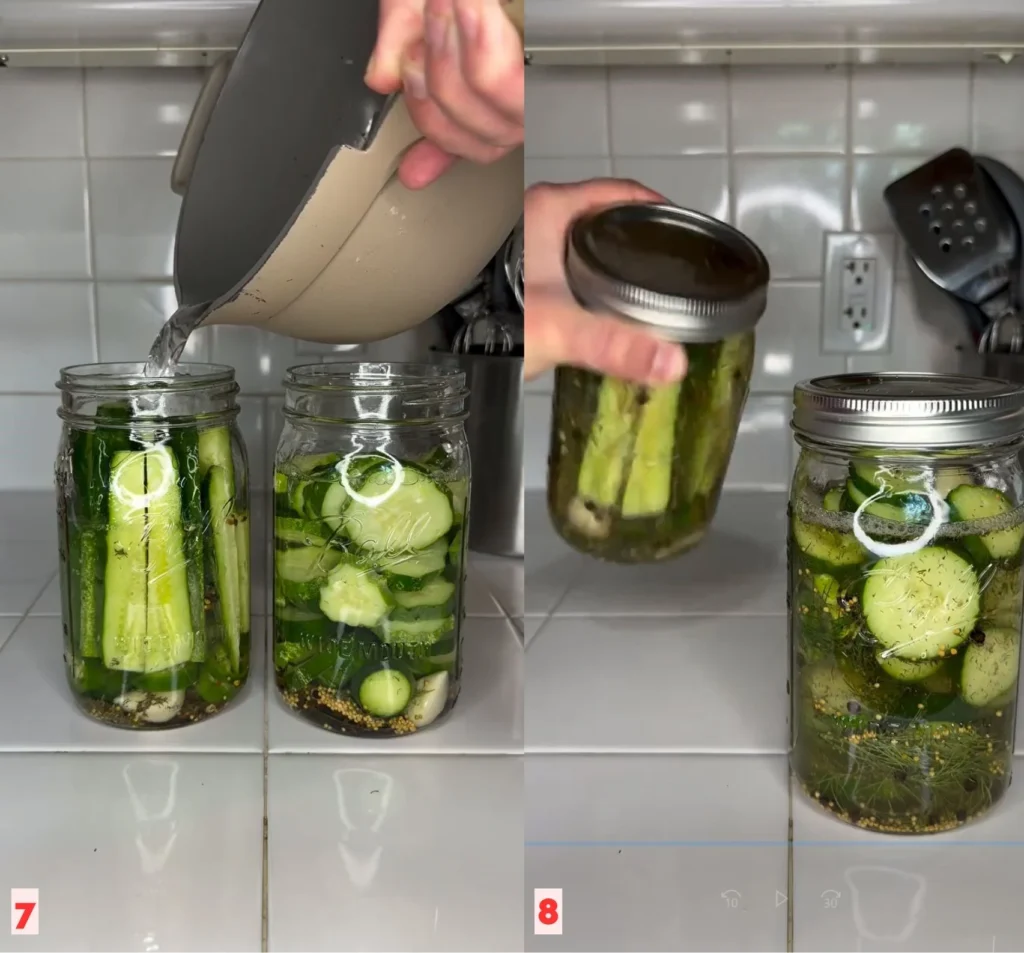
Place a lid on the jar, shake gently to distribute the seasonings, and store the jar in the fridge.
Let the jar sit in the fridge for a week before digging in. This resting time allows the flavors to fully develop and the cucumbers to properly pickle.
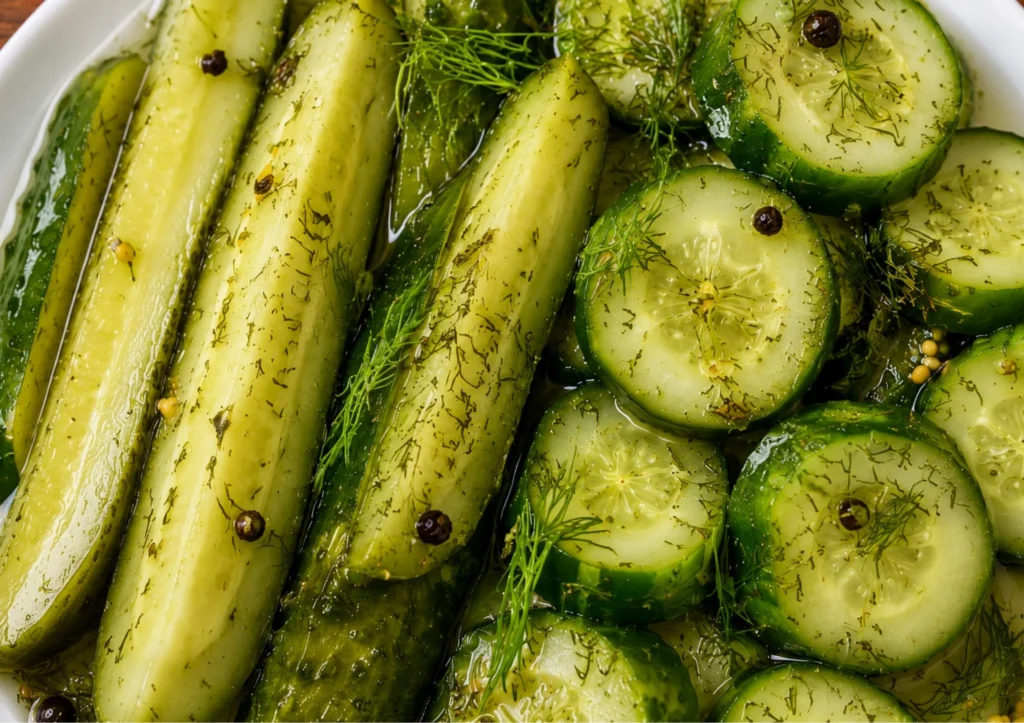
Once that week has passed, you’ll have a jar of crisp, well-seasoned pickles ready to enjoy on sandwiches, alongside a meal, or straight out of the jar as a snack.
Tips for the Best Refrigerator Pickles
The ice bath step is one of the most important parts of this recipe, so don’t skip it.
Letting the cucumbers sit in ice water before cutting them helps firm up their texture, which translates directly into a crisper finished pickle.
Cutting off both ends of the cucumber also plays a role in texture. The ends of a cucumber contain enzymes that can lead to softer pickles over time, so trimming them off before slicing helps your pickles stay crunchy throughout their time in the fridge.
Let the brine cool completely before pouring it over the cucumbers. Adding hot brine to fresh cucumbers can start to cook them slightly, which affects the crisp texture you’re going for with this recipe.
If you’re unsure about spice level, start with a smaller amount of red pepper flakes and jalapeño, then adjust in future batches based on your preference. It’s easier to add more heat next time than to tone it down once it’s already in the jar.
Since these are stored in the fridge rather than canned using a water bath method, they typically stay fresh for several weeks when kept refrigerated. For the best flavor and texture, it’s recommended to eat them within a few weeks of making them.
While you can technically taste them sooner, waiting the full week allows the cucumbers enough time to fully absorb the brine and seasonings, resulting in a much more flavorful pickle.
Yes, the crushed red pepper flakes and jalapeño are entirely optional. You can leave them out for a classic, non-spicy dill pickle, or include them if you prefer some heat.
Smaller, firmer cucumbers tend to work best for pickling, since they hold their crunch better than larger, more watery varieties.
It’s best to make a fresh batch of brine each time. Reusing brine can lead to weaker flavor and less effective pickling in a second batch.
The ends of the cucumber contain enzymes that can cause the pickles to soften over time. Removing them before cutting the cucumbers into spears or chips helps preserve that crisp texture.
This recipe calls for a sprig of fresh dill along with dill weed, which brings in both fresh and dried dill flavor. If fresh dill isn’t available, you can use extra dill weed as a substitute, though the flavor may be slightly different.
Yes, this method relies on refrigeration rather than the vacuum-sealing process used in traditional canning. As long as the jar stays refrigerated the entire time, this is a safe and simple way to make pickles at home.
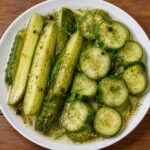
Refrigerator Dill Pickles: Crisp, Tangy, and Ready in a Week
Ingredients
- 1 jar’s worth of fresh cucumbers cut into spears or chips
- 1 cups white vinegar
- 1 cups water
- 1 tablespoons salt
- 1 tablespoons sugar
- 2 garlic cloves
- 1 sprig fresh dill
- 1 teaspoons whole peppercorns
- 2 teaspoons mustard seed
- 1.5 teaspoons dill weed
- 0.5 teaspoons crushed red pepper flakes optional
- 1 jalapeño sliced (optional)
Instructions
- Ice bath cucumbers: Let 1 jar’s worth of fresh cucumbers, cut into spears or chips sit in an ice bath for 60 minutes
- Start the brine: In a small saucepan over medium heat, combine 1 cups white vinegar, 1 cups water, 1 tablespoons salt, and 1 tablespoons sugar.
- Dissolve and cool brine: Heat until salt and sugar dissolve, then remove from heat and let cool.
- Cut cucumbers: Cut the cucumbers into spears or chips, trimming off both ends.
- Add seasonings to jar: In a 32 oz mason jar, add 2 garlic cloves, 1 sprig fresh dill, 1 teaspoons whole peppercorns, 2 teaspoons mustard seed, and 1.5 teaspoons dill weed. Add 0.5 teaspoons crushed red pepper flakes (optional) and 1 jalapeño, sliced (optional) for a spicy version.
- Add cucumbers: Add the cut cucumbers to the jar.
- Add brine: Pour the cooled brine over the cucumbers to fill the jar.
- Seal and refrigerate: Seal with a lid, shake gently, and store in the fridge.
- Rest before serving: Let sit in the fridge for 1 week before eating.


