We’ve all been in a situation where we want to celebrate a special occasion but don’t have access to a full kitchen. This Birthday Pot Cake is the solution. By mixing and cooking the cake directly in a small pot on the stove, you create a dessert that is remarkably moist, dense, and deeply infused with chocolate.
Because the pot is covered during the cooking process, the steam essentially “poaches” the cake, resulting in a crumb that is far softer than what you’d get from a traditional dry-heat oven. It’s the ultimate “effortless revolution” for celebrations!
Quick Stats
- Prep Time: 10 Minutes
- Cook Time: 25 Minutes
- Total Time: 35 Minutes
- Servings: 4–6 servings (Perfect for a small gathering!)
The Shopping List
This recipe uses basic ingredients you likely already have in your pantry.
For the Chocolate Cake Base:
1 Large Egg: Provides the necessary structure.
1/2 Cup Granulated Sugar: For a classic, sweet birthday flavor.
1/2 Cup Whole Milk: Room temperature helps it mix smoothly.
1/4 Cup Vegetable Oil: (Or Canola oil) to ensure the cake stays moist.
1 Cup All-Purpose Flour: Sifted to keep the batter light.
2 Tablespoons Unsweetened Cocoa Powder: For that rich chocolate base.
2 Teaspoons Baking Powder: (Equivalent to 1 packet) for the lift.
1 Teaspoon Vanilla Extract: (Equivalent to 1 packet of vanilla sugar).
For the Silky Chocolate Soaking Sauce:
1 Cup Whole Milk: The base of our pour-over glaze.
1 Tablespoon Cocoa Powder: To reinforce the chocolate flavor.
2 Tablespoons Granulated Sugar: To sweeten the sauce.
The Recipe Maker Method: Step-by-Step
1. The Batter Mix
Grab a small, deep cooking pot (a 2-quart saucepan works perfectly). Crack your egg into the pot and add the sugar. Whisk together until slightly frothy. Stir in the milk and oil.
2. Sift and Combine
Add your flour, cocoa powder, baking powder, and vanilla directly into the pot. Whisk the mixture until the batter is smooth and there are no large flour clumps. Make sure to scrape the bottom edges of the pot with a spatula.
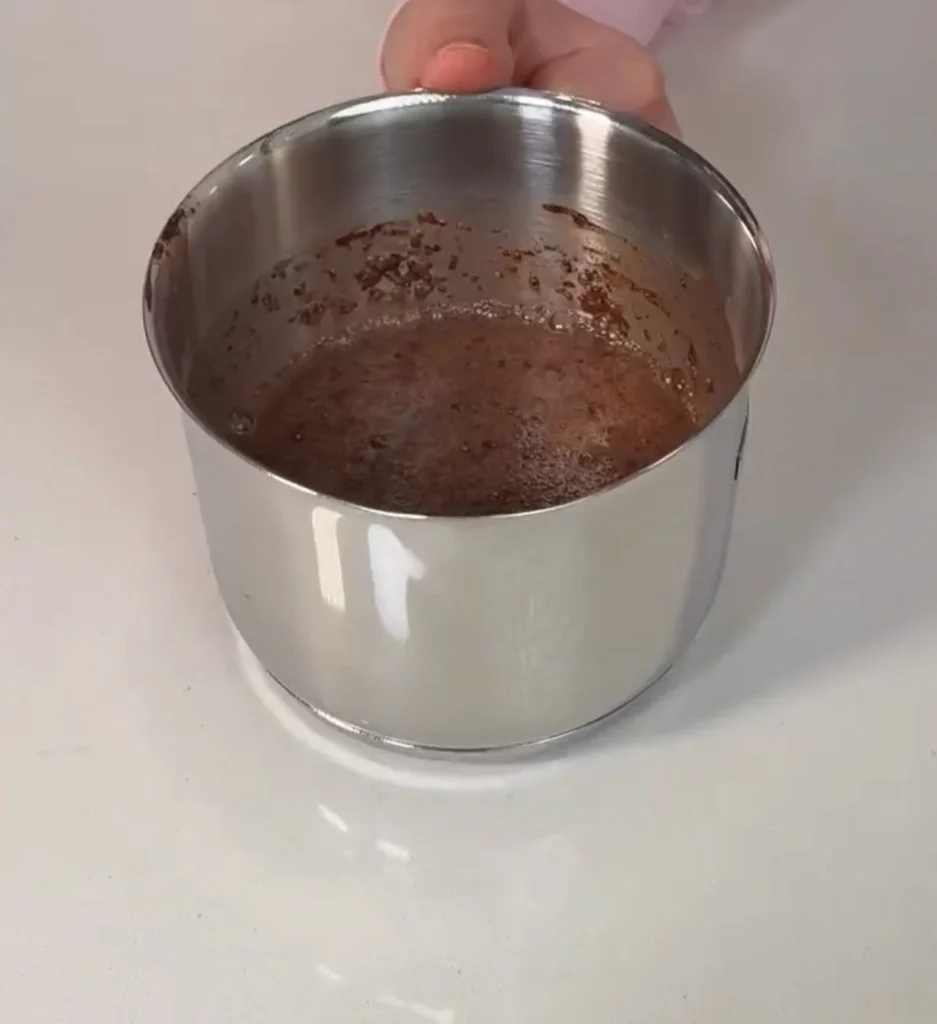
3. The Stovetop “Bake”
Place the lid firmly on the pot. Set the pot on your smallest burner over low to medium heat.
4. The Golden Rule: No Peeking!
Let the cake cook for 25 minutes. Important: Do not open the lid for the first 20 minutes! Opening the lid allows the steam to escape and can cause the cake to collapse. After 20 minutes, you can quickly check the center with a toothpick. If it comes out clean, your cake is ready.
5. Prepare the Soaking Sauce
While the cake is cooking, whisk together the milk, cocoa powder, and sugar for the sauce in a small bowl until the sugar is dissolved.
6. The Chocolate Drizzle
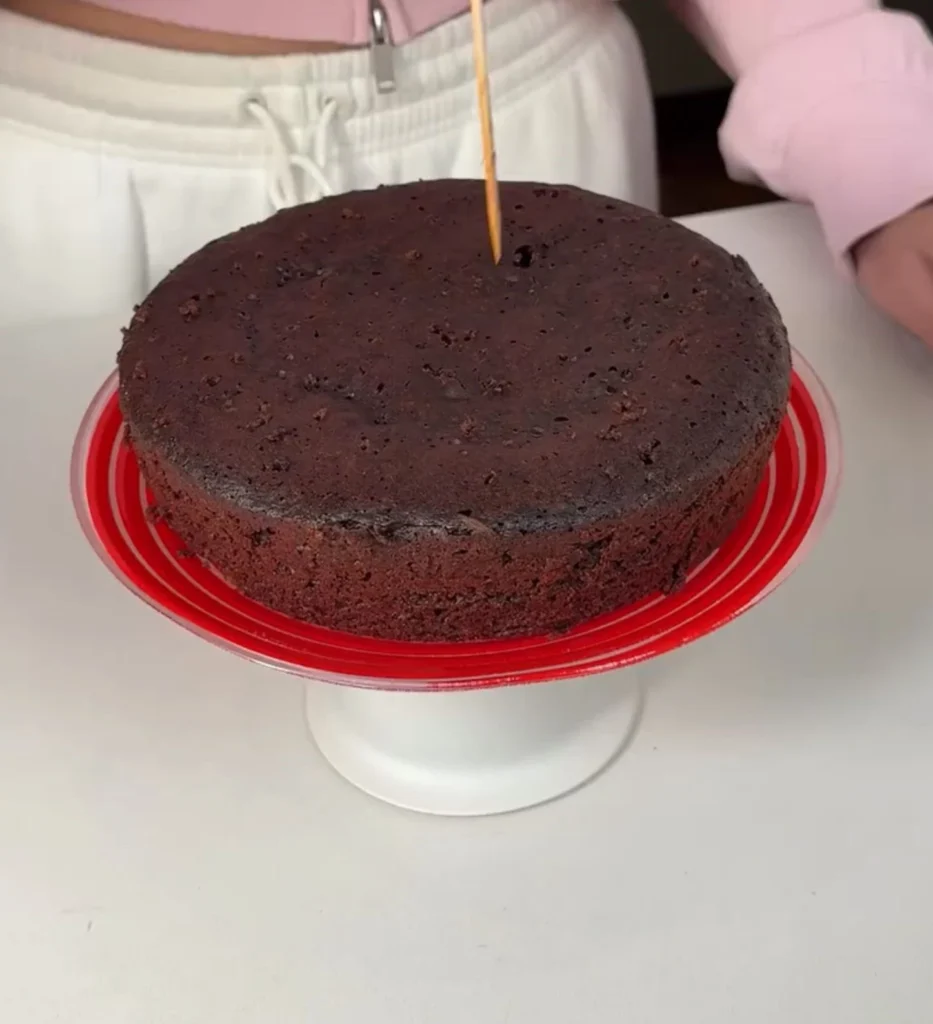
Once the cake is done, remove the pot from the heat and let it cool slightly for about 5–10 minutes. While the cake is still warm, use a skewer to poke a few small holes in the surface.
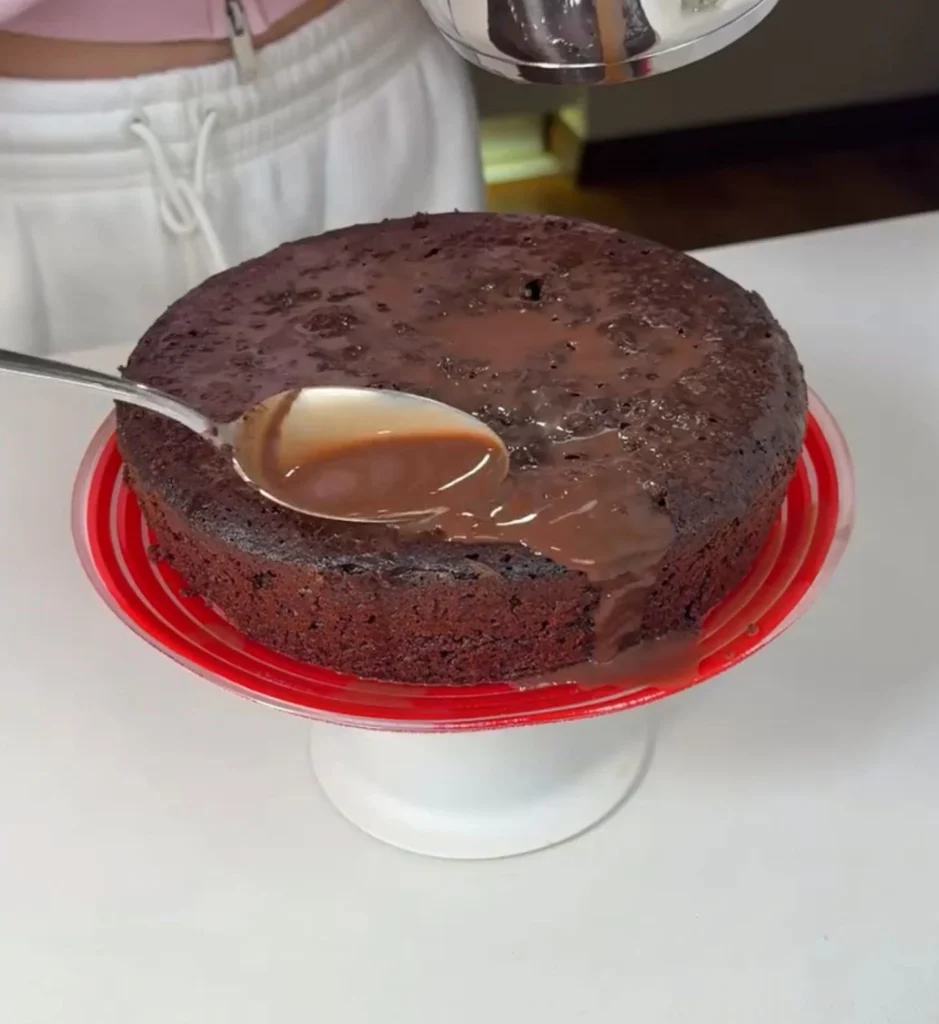
Pour the chocolate sauce evenly over the top, letting it soak deep into the sponge.
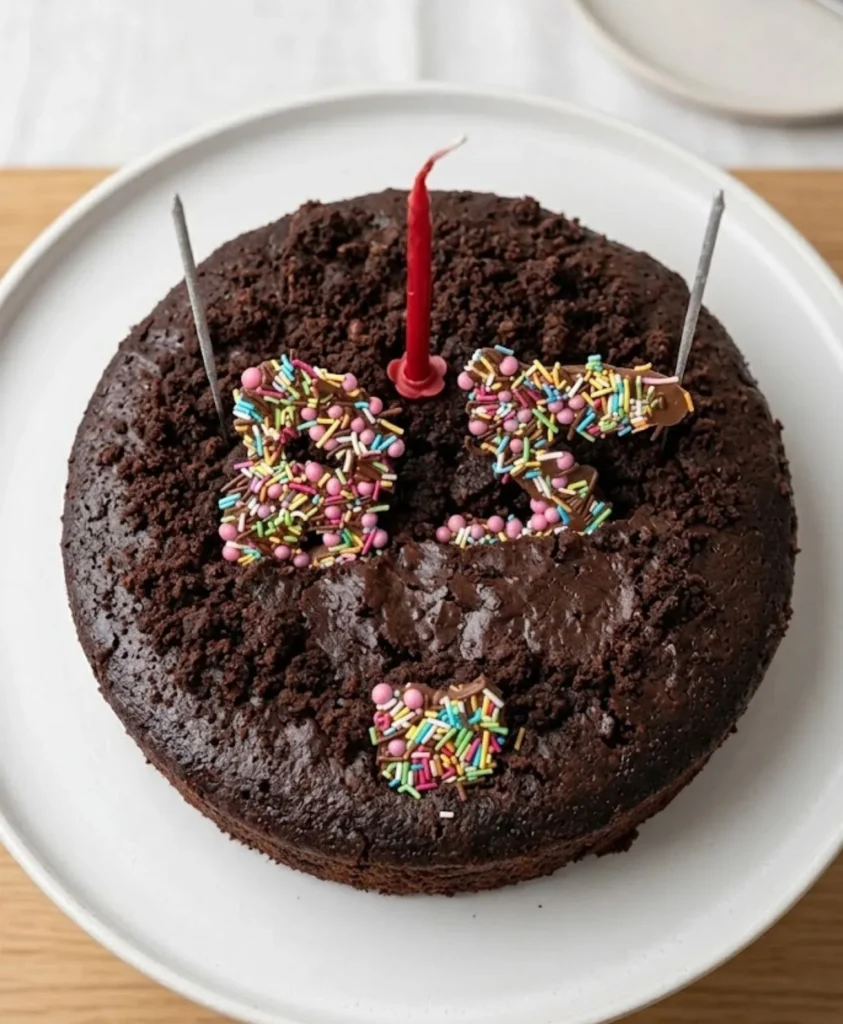
7. Decorate and Celebrate
Once the sauce has been absorbed, you can decorate the top with sprinkles, chocolate shavings, or even custom chocolate letters (as seen in the video). Add your candles, make a wish, and serve!
Pro Tips for Pot Cake Success
Pot Selection: A non-stick pot is highly recommended. If you don’t have one, you might want to lightly grease the sides of the pot before you start whisking the ingredients together.
Heat Management: If your stovetop runs very hot, place a “simmer ring” or a flat baking sheet between the burner and the pot to prevent the bottom of the cake from burning.
The “Poke” Method: When drizzling the sauce, focus on the edges of the cake as well as the center to ensure every bite is equally moist.

The Pot Cake Phenomenon: Birthday Magic Without an Oven
Ingredients
- For the Chocolate Cake Base:
- Egg: 1 large
- Sugar: ½ cup granulated
- Milk: ½ cup whole
- Oil: ¼ cup vegetable or canola oil
- Flour: 1 cup all-purpose
- Cocoa Powder: 2 tbsp unsweetened
- Baking Powder: 2 tsp or 1 packet
- Vanilla: 1 tsp vanilla extract or 1 packet vanilla sugar
- For the Silky Soaking Sauce:
- Milk: 1 cup
- Cocoa Powder: 1 tbsp
- Sugar: 2 tbsp granulated
Instructions
- Whisk Wet Ingredients: In a small, non-stick cooking pot, whisk together the egg and sugar until frothy. Stir in the milk and oil.
- Add Dry Ingredients: Add the flour, cocoa powder, baking powder, and vanilla directly into the pot. Whisk until the batter is smooth and no flour clumps remain.
- Prepare for Cooking: Clean the inner edges of the pot with a spatula. Place a tight-fitting lid on the pot.
- Stovetop “Bake”: Place the pot on the smallest burner over low-to-medium heat.
- The “No-Peek” Rule: Cook for 25 minutes. Do not open the lid for the first 20 minutes to ensure the steam stays trapped for a moist rise.
- Check Doneness: After 25 minutes, insert a toothpick into the center. If it comes out clean, remove the pot from the heat.
- Make the Sauce: While the cake cools slightly, whisk the sauce ingredients (milk, cocoa, and sugar) in a separate bowl until the sugar is fully dissolved.
- Soak and Decorate: Poke several small holes in the warm cake with a skewer. Pour the chocolate sauce over the top. Let it sit for a few minutes to absorb.
- Celebrate: Decorate with sprinkles, chocolate letters, or candles directly in the pot and serve.
If you want a larger cake, you can double the ingredients, but you will need a much larger pot and the cooking time will likely increase to 40–45 minutes.
This usually happens if the batter is over-whisked once the flour is added. Mix just until the flour disappears to keep the texture light.
Yes! Almond milk or oat milk works perfectly as a 1:1 substitute in both the cake and the sauce.
Since it has a milk-based soaking sauce, it is best to store any leftovers in the refrigerator. However, it’s most delicious when served at room temperature or slightly warmed.
Most people serve this directly from the pot for a rustic “spoon-cake” feel. However, if you used a non-stick pot and let it cool completely, you can gently run a knife around the edge and flip it onto a plate.