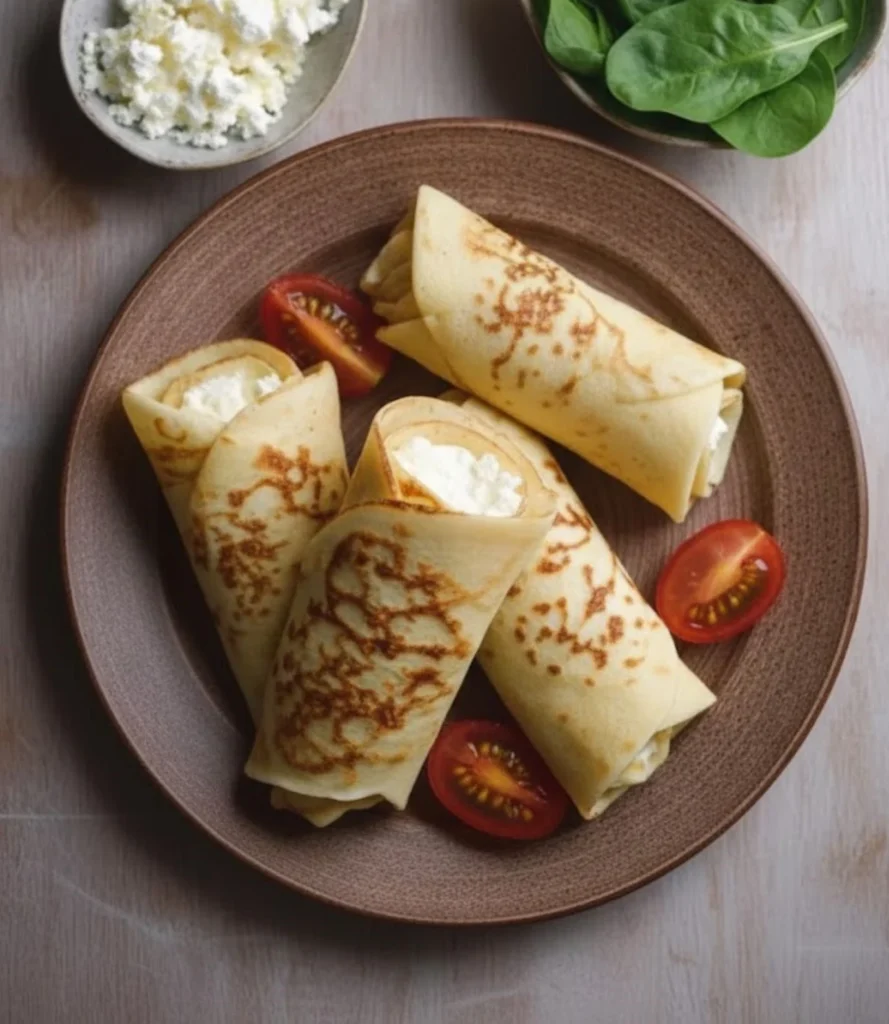
Forget everything you know about flimsy, “healthy” tortilla alternatives that shatter the moment you try to roll them.
We have all seen those viral recipes that promise the world but deliver a crumbly mess. This is different. These 2-Ingredient Cottage Cheese Wraps are the real deal. They are pliable, sturdy, and bend exactly like a real flour tortilla all while being powered by pure protein.
I’ve tested this specific ratio more times than I can count. It started as a mission to create a better school lunch for my daughter, who wanted wraps that didn’t taste like “punishment” (as my son so eloquently puts it). After perfecting the technique, these have become a staple in our household.
With about 14 grams of protein and only 2 grams of carbs per wrap, they are a metabolic powerhouse that actually tastes good. Whether you’re keto, low-carb, or just someone trying to hit a high protein goal, these wraps are about to become your new best friend.
Grilled Veggie Burger a High Protein Low Oil Revolution
Why These Wraps Are a Game-Changer
Unbeatable Macros: You get 14g of protein per wrap without any “filler” ingredients or processed powders.
Actually Flexible: Unlike almond flour or coconut flour wraps, these behave like crepes you can roll them, fold them, or even use them for enchiladas.
Minimalist Ingredients: You likely have the eggs and cottage cheese in your fridge right now. No trips to specialty health stores required.
Kid-Tested: When a teenager who hates “healthy food” asks for seconds, you know the texture and flavor are spot on.
The Perfect 2 Ingredient List
The beauty is in the simplicity, but the quality of your ingredients matters for the structural integrity of the wrap.
1 cup Full-Fat Cottage Cheese: This is non-negotiable for the best results. Full-fat cottage cheese provides the fat content necessary to make the wrap sturdy and pliable. Low-fat versions tend to have more water and less structure, leading to tearing. My preferred brand is Good Culture, but any quality brand with large curds works well.
2 Large Eggs: Preferably at room temperature. This helps the proteins bond more effectively during the blending process.
Pro-Tip: Managing Moisture
If your cottage cheese looks “soupy” when you open the container, do not skip this step: strain the excess liquid through a fine-mesh strainer for about 5 minutes. If the batter is too thin, it becomes difficult to flip and won’t develop that “tortilla” chewiness.
High Protein Chilli Garlic Indian Cottage Cheese Sandwich
Homemade Special Sauce Burger Tacos
Crispy Spicy Pickle Juice Chips
Step by Step Instructions: Mastering the Technique
To get that smooth, tortilla-like finish rather than a bumpy egg-omelet texture, follow these steps precisely.
Step 1: The High-Speed Blend
Add your cottage cheese and eggs to a high-speed blender. This is crucial—you need to pulverize the curds until the mixture is completely smooth and looks like a thin pancake batter. Blend on high for 20–30 seconds. Stop and scrape the sides to ensure no lumps are left behind.
Step 2: The Pan Prep
Heat an 8–10 inch nonstick skillet over medium heat. Lightly spray with a high-heat cooking oil. To check if it’s ready, drop a tiny bit of batter in the center. It should sizzle gently. If it smokes, the pan is too hot; if it doesn’t sizzle, the wrap will stick.
Step 3: The Crepe Swirl
Pour roughly half the batter (about ½ cup) into the center of the pan. Immediately pick up the pan and tilt it in a circular motion to spread the batter thin and wide. Let it cook undisturbed for 3–4 minutes.
The Patience Rule: Do not touch the wrap until the edges start to lift and the surface looks matte and dry. If you try to flip it while it’s still glossy, it will tear.
Step 4: The Confident Flip
Slide a thin, flexible spatula under the wrap and flip it in one smooth motion. Cook the second side for 1–2 minutes until you see light golden-brown spots.
Step 5: The Cooling Phase
Transfer the wrap to a plate and let it cool for 2–3 minutes. This is the secret step. When they are hot, they are fragile. As they cool, the proteins set, and the wrap becomes incredibly strong and flexible.
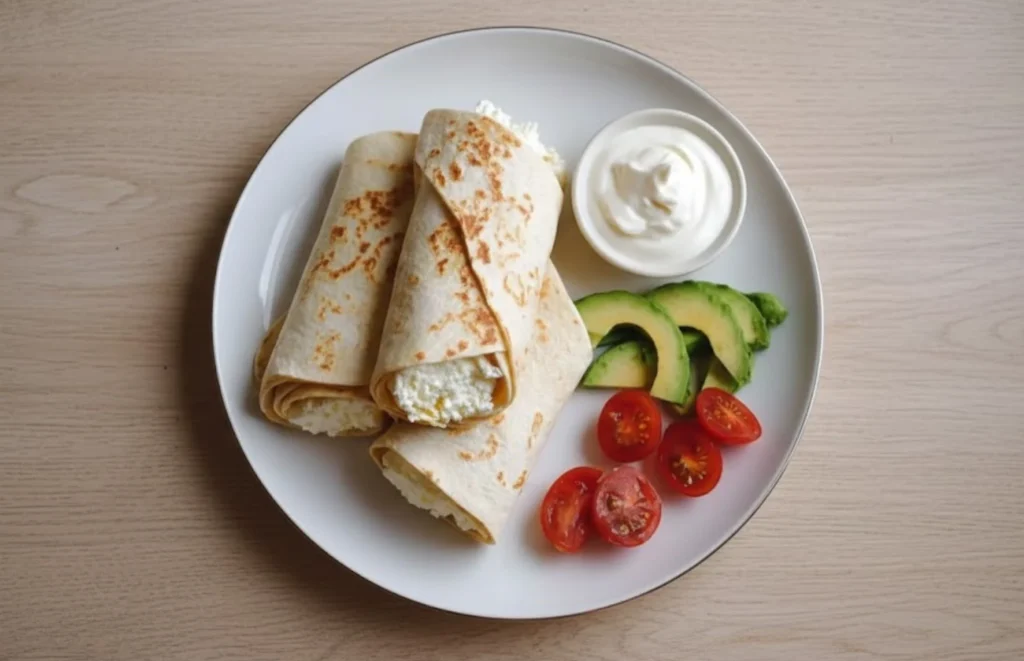
What to Serve with Your Cottage Cheese Wraps
These wraps are a blank canvas. Their mild, slightly tangy flavor works with almost any filling:
Turkey, Avocado, and Spinach: A classic lunch option. The wrap is sturdy enough to hold heavy fillings like avocado without breaking.
High-Protein Egg Salad: Use cottage cheese instead of mayo for your egg salad, then wrap it up for a double-dose of protein (reaching nearly 30g for the meal!).
Grilled Chicken Caesar: Toss chicken strips with romaine and a light dressing. The wrap won’t get soggy as quickly as a traditional flour tortilla.
Buffalo Chicken Style: Use a spicy buffalo chicken mixture (similar to our dip recipe!) for a fiery, high-protein lunch.
Mediterranean Veggie: Spread with hummus and fill with roasted peppers and zucchini.
Biryani Style Potato and Chickpea Pulao
Storage & Freezing: The “Parchment” Rule
Refrigeration: Store in an airtight container for up to 4 days.
The Sticking Warning: You must layer parchment or wax paper between each wrap. Because of the protein and moisture content, they will stick together into one giant “blob” if stacked directly.
Freezing: These are perfect for meal prep. Stack with parchment paper, place in a freezer bag, and freeze for up to 2 months. Thaw in the fridge overnight.
Reheating: For best results, use a dry skillet for 30 seconds per side. The microwave works (15-20 seconds), but the skillet restores that “freshly cooked” pliability.

Simple Egg Cottage Cheese Wraps
Ingredients
- 1 cup cottage cheese full-fat recommended drained if very watery
- 2 large eggs room temperature preferred
Instructions
- Step 1: The High-Speed Blend
- Add your cottage cheese and eggs to a high-speed blender. This is crucial—you need to pulverize the curds until the mixture is completely smooth and looks like a thin pancake batter. Blend on high for 20–30 seconds. Stop and scrape the sides to ensure no lumps are left behind.
- Step 2: The Pan Prep
- Heat an 8–10 inch nonstick skillet over medium heat. Lightly spray with a high-heat cooking oil. To check if it’s ready, drop a tiny bit of batter in the center. It should sizzle gently. If it smokes, the pan is too hot; if it doesn’t sizzle, the wrap will stick.
- Step 3: The Crepe Swirl
- Pour roughly half the batter (about ½ cup) into the center of the pan. Immediately pick up the pan and tilt it in a circular motion to spread the batter thin and wide. Let it cook undisturbed for 3–4 minutes.
- The Patience Rule: Do not touch the wrap until the edges start to lift and the surface looks matte and dry. If you try to flip it while it’s still glossy, it will tear.
- Step 4: The Confident Flip
- Slide a thin, flexible spatula under the wrap and flip it in one smooth motion. Cook the second side for 1–2 minutes until you see light golden-brown spots.
- Step 5: The Cooling Phase
- Transfer the wrap to a plate and let it cool for 2–3 minutes. This is the secret step. When they are hot, they are fragile. As they cool, the proteins set, and the wrap becomes incredibly strong and flexible.
You can, but the wraps will be much drier and more prone to cracking. The fat in the yolks acts as a binder and softener, giving the wrap its “tortilla” feel.
This usually happens for two reasons: either the pan isn’t truly nonstick, or you didn’t let the wrap cook long enough on the first side. It needs those full 3-4 minutes to develop a “skin” that releases from the pan.
Absolutely! Feel free to add a pinch of garlic powder, dried oregano, or even a dash of chili flakes to the blender to give your wraps a specific flavor profile.
Surprisingly, no. Once blended and cooked, the flavor is very neutral—similar to a savory crepe. They take on the flavor of whatever you put inside them.